


A great blowout can transform the way your hair looks and feels, adding smoothness, volume, movement, or enhanced curl definition without requiring a permanent change to your hairstyle. Whether you prefer a sleek, straight finish, bouncy 90s-inspired layers, or fuller natural curls, a hair blowout offers different ways to shape your look. Understanding the techniques, tools, and styling options can help you choose a blowout that suits your hair type and personal style.
What Is a Hair Blowout?
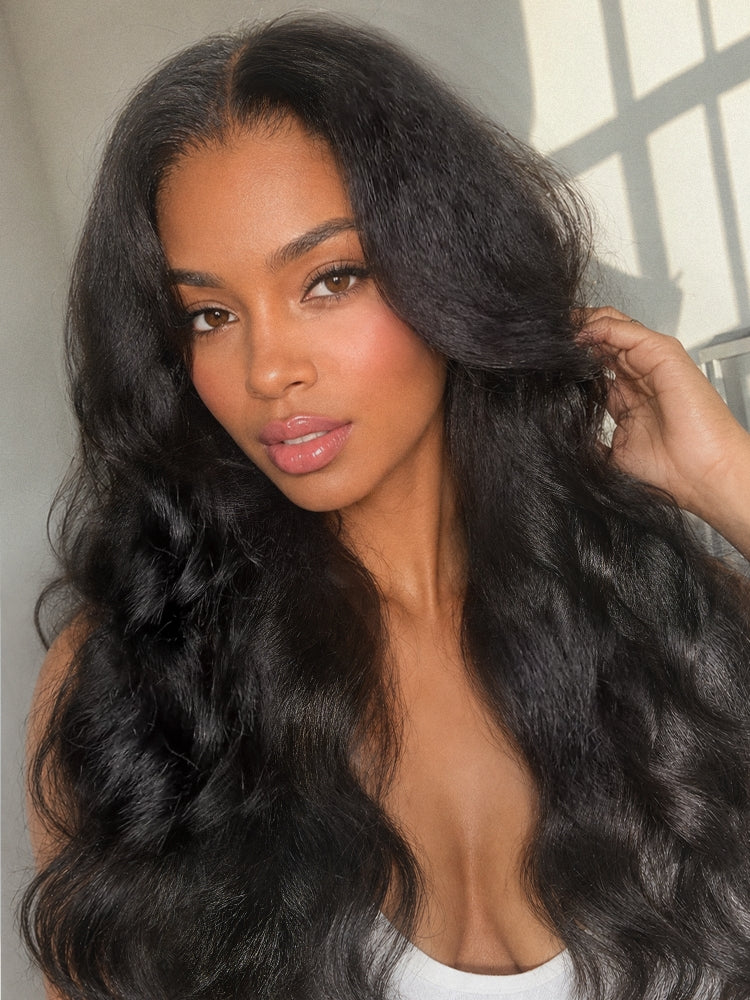
A hair blowout is a styling technique that uses a blow dryer, brushes, and heat to dry and shape hair into a polished finish. Unlike simply drying wet hair, a blowout focuses on creating a particular hairstyle, such as smooth straight lengths, rounded ends, soft waves, or enhanced volume.
Depending on the technique, a stylist may use a round brush to create tension and smooth the strands, lift the roots for added body, or use a diffuser to enhance natural curls.
The finished look can be sleek and glass-like or full of movement and bounce. Your hair texture, haircut, and styling tools all influence the final result.
For a textured, voluminous finish, explore this Luvme Kinky Body Wave Wig.
Blowout vs. Regular Blow-Dry: What's the Difference?

A regular blow-dry primarily focuses on removing moisture, while a blowout combines drying with intentional styling. A blowout typically involves controlled brush tension, smaller sections, and specific techniques to create a finished shape that may include volume, movement, or smoothness.
The main difference is the styling process: a blowout uses the dryer and brush together to shape the hair, rather than simply directing warm air over wet strands.
| Comparison | Regular Blow-Dry | Hair Blowout |
|---|---|---|
| Main Purpose | Remove moisture and dry the hair. | Dry and shape the hair into a specific style. |
| Tools | Blow dryer and basic brush. | Blow dryer, round brush, clips, and styling products. |
| Technique | Focuses mainly on drying. | Uses sectioning, brush tension, and directional airflow. |
| Finished Look | Dry hair with its existing shape. | Can create smoothness, volume, bounce, or defined texture. |
How to Blow Out Hair at Home
A salon-style blowout is created by using a blow dryer and a round brush together. The dryer provides controlled airflow while the brush adds tension, lift, and shape. Working in small sections allows you to smooth the roots, create movement through the lengths, and shape the ends as you dry.
Essential Tools & Products
| Tool or Product | Purpose |
|---|---|
| Blow Dryer with Concentrator Nozzle | Directs airflow along the hair shaft for more controlled drying and smoothing. |
| Ceramic or Boar-Bristle Round Brush | Creates tension, root lift, rounded ends, and soft bends. |
| Sectioning Clips | Separate hair into manageable sections for controlled styling. |
| Velcro or Heatless Rollers | Help set crown volume and bouncy ends while the hair cools or sets. |
| Heat Protectant and Styling Products | Help protect hair during heat styling and support the finished shape. |
Three Steps to Create a Salon-Style Blowout
The key to a professional-looking blowout is coordinating the round brush with the concentrator nozzle. Keep the airflow aligned with the brush and work from the roots toward the ends to create a smooth, controlled finish.
Rough-Dry and Prepare Your Hair
After washing and detangling your hair, gently towel-dry to remove excess water. Apply heat protectant evenly through the lengths and ends. If you want extra body, distribute a lightweight volumizing mousse or root-lifting product near the roots.
Attach the concentrator nozzle to your blow dryer and begin drying with moderate heat and airflow. Use your fingers or a suitable brush to move the hair while directing air from the roots toward the ends. Remove most of the excess moisture before beginning detailed round-brush styling.
For fine hair, use a gentler airflow to help reduce flyaways. For thicker hair, work in smaller sections so the roots and inner layers dry evenly. Avoid holding the dryer in one spot for too long.
Section Your Hair and Style with a Round Brush

Divide your hair into manageable sections using clips, starting with the lower layers at the nape. Take one section at a time and position the round brush underneath the hair near the roots.
Pull the brush gently through the section while following it with the concentrator nozzle. Keep the nozzle angled downward and aligned with the direction of the brush, moving from roots to ends. Maintain comfortable tension without pulling too tightly.
For more volume, lift the brush upward at the roots as you dry. For a smoother straight blowout, keep the brush moving downward with controlled tension. Continue section by section until the hair is dry and shaped.
Use a medium round brush for shorter or medium-length hair and a larger barrel for longer lengths and softer bends. Smaller sections provide better control. For face-framing pieces, direct the brush away from your face to create an open, sweeping finish.
Shape the Ends and Finish with Cool Shot
Once each section is nearly dry and smooth, use the round brush to shape the ends. Roll the brush inward for a rounded finish, outward for a flipped effect, or gently around the ends for a softer bend.
When the section has reached the desired shape, use the cool-shot setting while the hair remains wrapped around the brush. Allow the section to cool before releasing it. Repeat this process throughout the head, paying attention to the crown and face-framing pieces.
After all sections are complete, gently arrange the hair with your fingers. Finish with a small amount of smoothing serum on the mid-lengths and ends if needed.
For added root volume, lift the brush away from the scalp before applying the final airflow. For extra movement at the ends, hold the hair around the brush briefly before using cool air. Avoid brushing out the entire style immediately after finishing.
How to Set Your Blowout with Velcro or Heatless Rollers
OPTIONAL FINISHING METHODAfter creating your initial blowout with a dryer and round brush, rollers can help maintain crown volume, rounded ends, and soft movement. Velcro rollers are useful for setting a warm blowout as it cools, while heatless rollers can be left in longer, including overnight when designed for that purpose.
Section Your Hair and Prepare the Rollers
Before wrapping your hair, divide the finished blowout into sections based on the areas where you want more volume or movement. Separate the crown, sides, back, and front sections with clips so each piece is easy to handle.
Choose the roller size according to your desired result. Larger rollers create softer bends and more rounded volume, while smaller rollers create more defined curves. Make sure your hair is smooth and free of tangles before wrapping.
Use larger rollers around the crown for lift and volume. Choose a consistent roller size for sections where you want a more uniform finish. Avoid taking sections that are wider than the roller itself.
Wrap Each Section Around a Roller

Take a section that matches the width of your roller. Smooth the ends onto the roller first, then roll upward using even tension. Choose a roller size that matches your desired shape.
Larger rollers create broader bends and softer volume, while smaller rollers create more defined curves. Avoid wrapping the hair too tightly or pulling on the scalp.
Roll the Front Sections Away from Your Face

For a soft, open face-framing effect, roll the front sections away from your face. Mirror the direction on the opposite side so both sides open outward when the rollers are removed.
This creates balanced, sweeping movement around the face rather than directing the hair inward toward the cheeks.
Allow the Rollers to Set

If you are using Velcro rollers after a blowout, keep them in place until the hair has cooled completely. This cooling stage helps the new shape settle and maintain its volume.
If you are using heatless rollers designed for overnight styling, leave them in overnight according to their instructions. Make sure they feel comfortable and do not pull excessively on the hair.
Remove the Rollers and Soften the Curls

Unwind each roller carefully in the direction of the hair's natural curve instead of pulling it straight through the section. Once all rollers are removed, use your fingers to gently separate the sections.
Arrange the roots, ends, and face-framing pieces to create the desired volume and movement. Finish with a lightweight smoothing serum or texture spray if needed.
For more detailed instructions on restoring body-wave texture, see our guide to restoring body waves on a kinky body wave wig.
Luvme Blowout Styles For You
Looking for a blowout-inspired look that is easy to wear and style? Explore these Luvme wigs and hair options, featuring layered cuts, body waves, and textured styles that can complement different blowout-inspired finishes.
Swipe or scroll horizontally to explore all 5 styles →
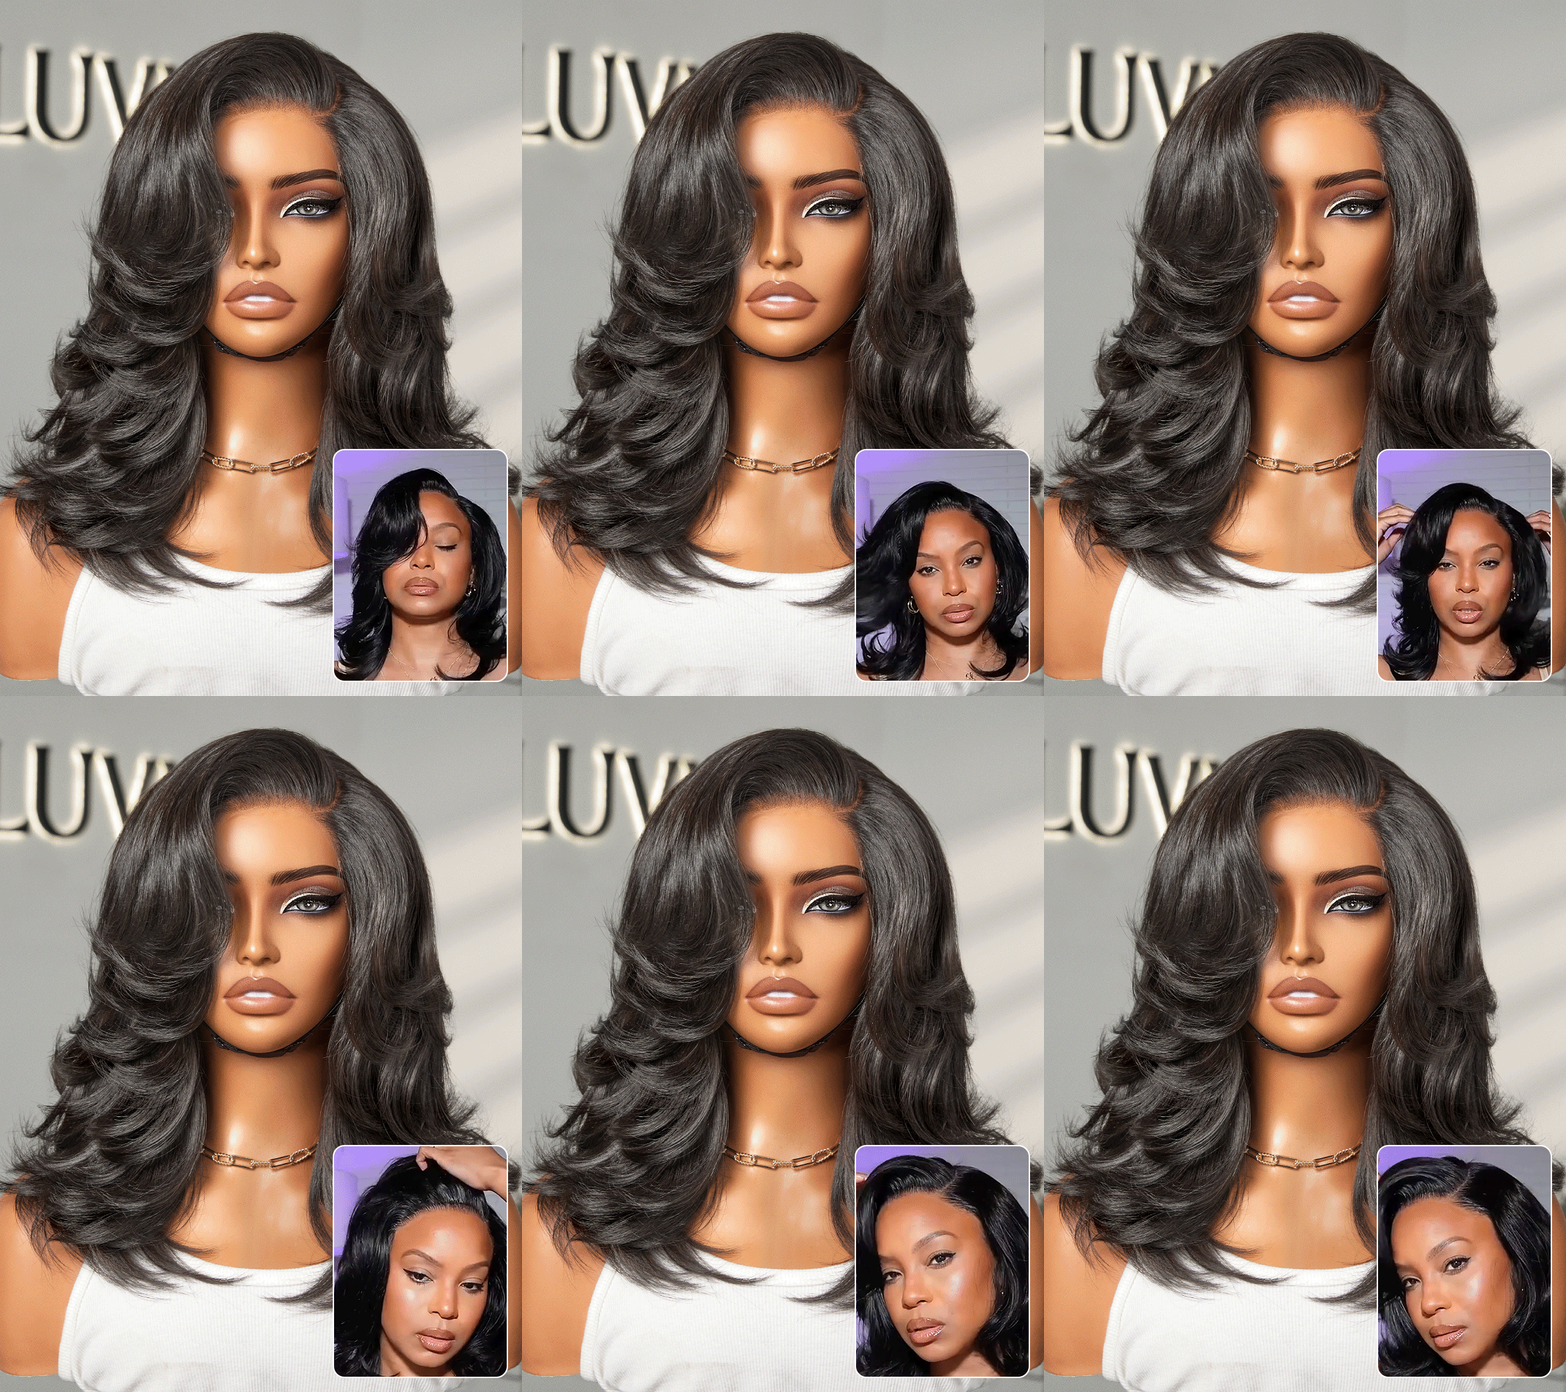 Effortlessly Chic Layered Haircut Wavy Short Wig
A short layered silhouette with soft waves and face-framing movement.
View Product →
 All-Day Comfort™ Kinky Body Wave Wig
A textured body-wave look with volume, movement, and a glueless 7x6 cap.
View Product →
 Miracle Knots Pre-Looped Crochet Hair
A textured styling option for protective looks and fuller curly hairstyles.
View Product →
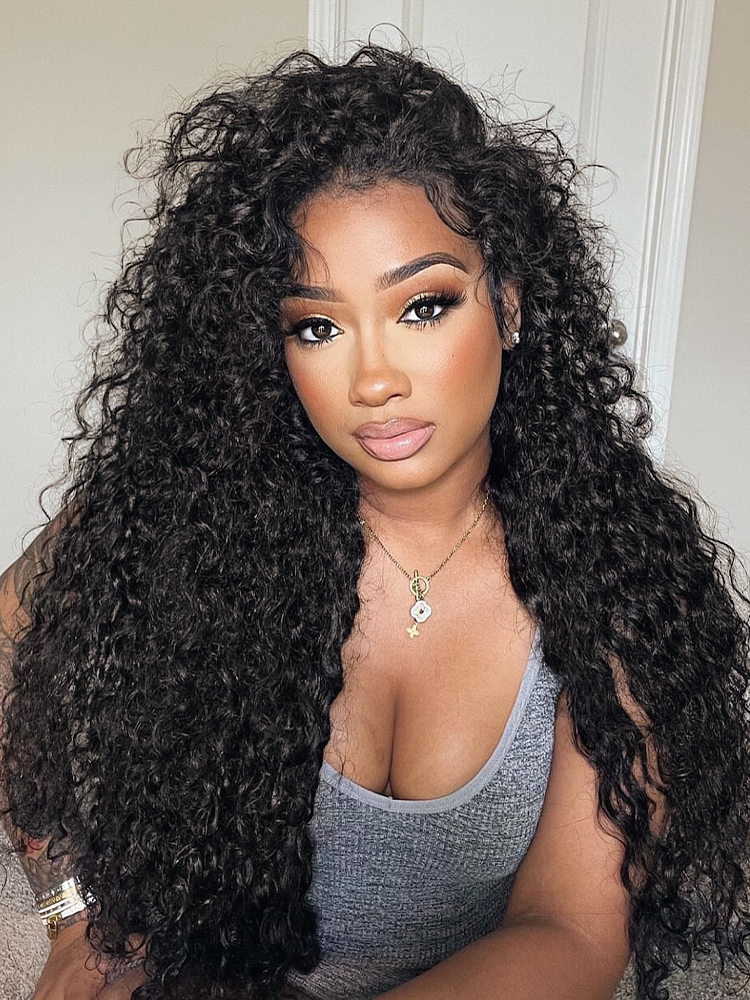 Too Easy Texture™ 3-in-1 Water Wave Half Wig
A water-wave half wig with a glueless Flexi-Fit drawstring design.
View Product →
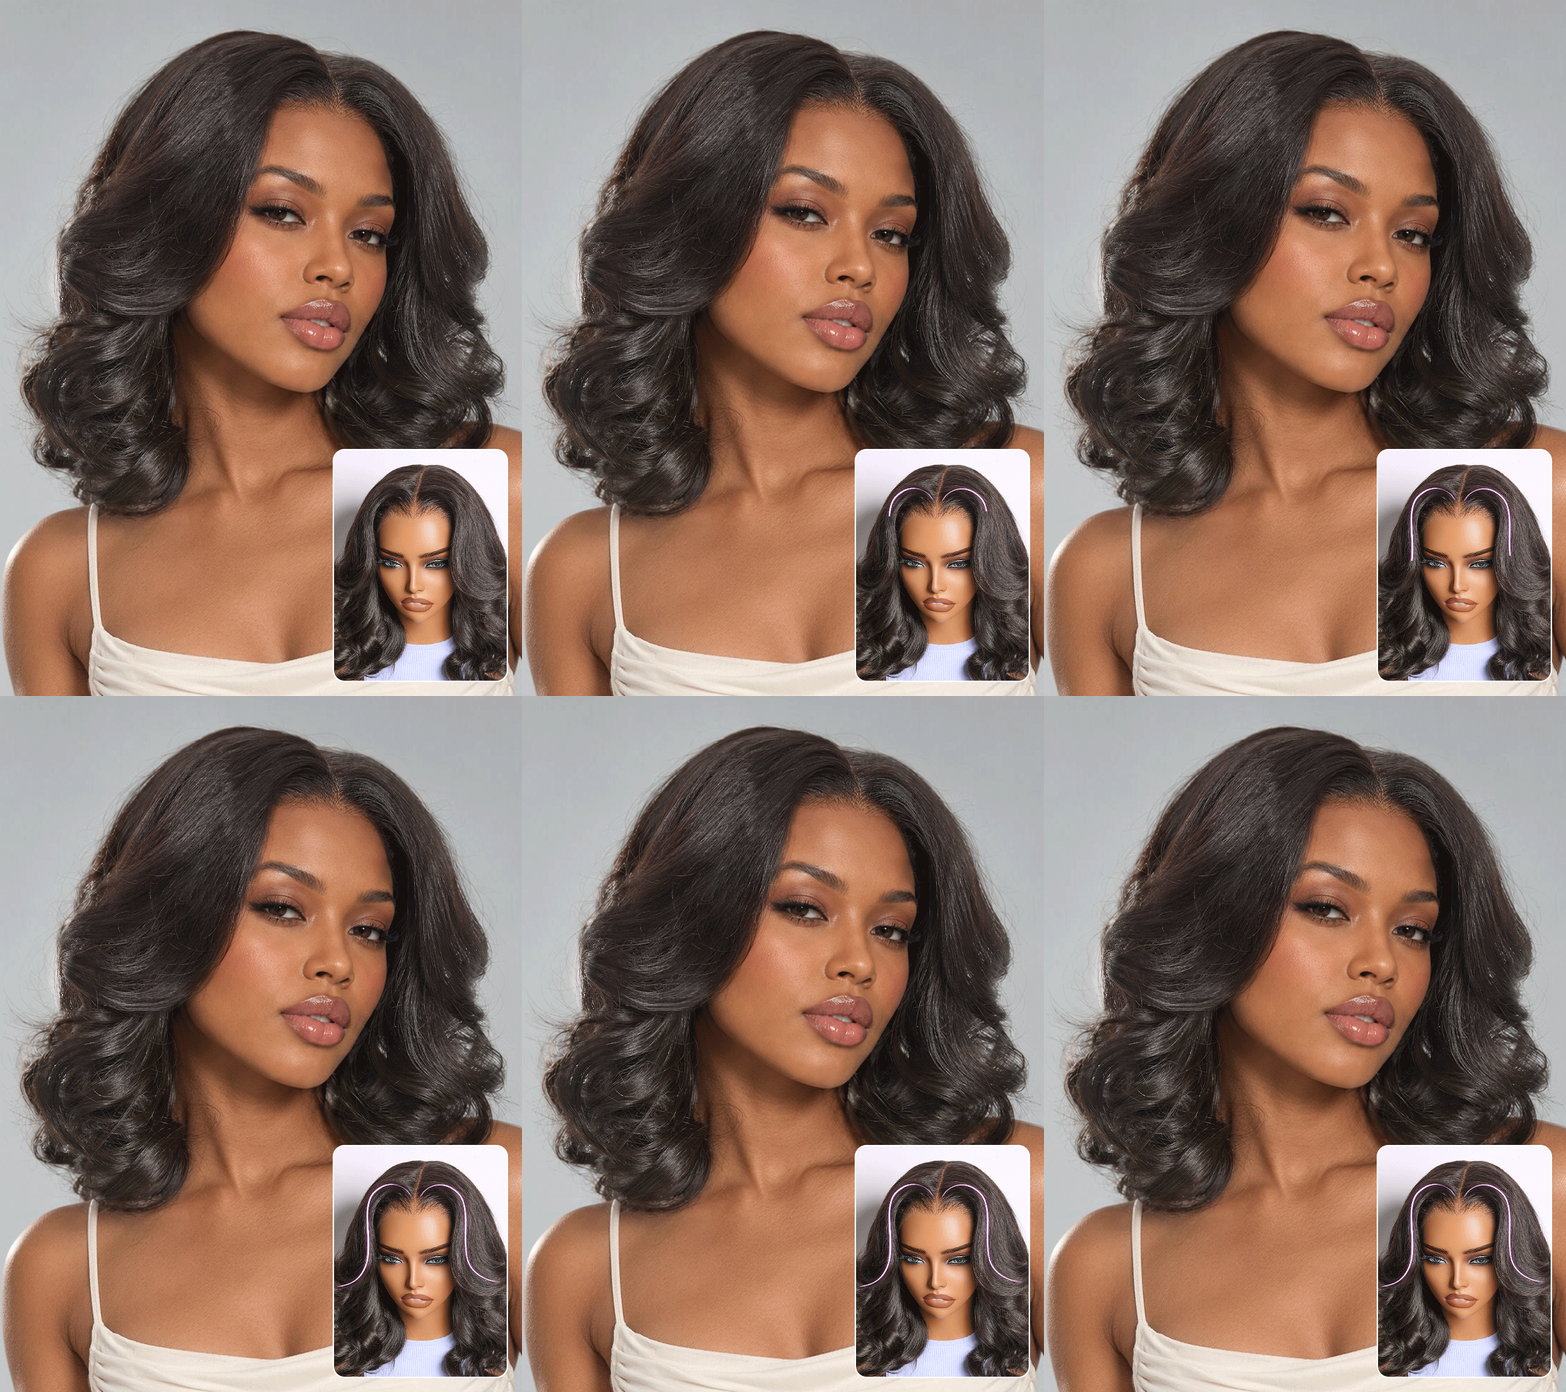 All-Day Curl Hold™ Shoulder-Length Body Wave Wig
A shoulder-length body-wave style with soft curls and a glueless 7x6 HD lace design.
View Product →
Explore more styles in the Luvme Human Hair Wigs Collection.
Blowout Hairstyles for Women
Blowout hairstyles for women can range from sleek and straight to soft, bouncy, or naturally curly finishes. The haircut, hair texture, and styling technique all influence the final silhouette. From retro-inspired volume to smooth modern shapes, these four looks offer different ways to wear a blowout.

1. 90s Blowout Hair
The 90s blowout is known for its rounded volume, soft layers, and flipped or curved ends. A large round brush helps lift the roots and create movement through the lengths, while rollers can help maintain the shape as the hair cools.
This look works particularly well with medium-to-long layered hair. Face-framing pieces and curtain bangs can add to its signature retro-inspired silhouette.

2. Feathered & Butterfly Layered Blowout
Feathered and butterfly-inspired blowouts use strategically placed layers to create movement around the face and throughout the lengths. The shorter front layers can be directed away from the face, while longer layers retain the overall fullness.
A round brush helps shape the layers and create soft, sweeping ends. This style is particularly suited to layered haircuts because the different lengths create a more dimensional finish.
Explore this Luvme layered haircut wig for a short, layered look with soft movement.

3. Voluminous Bob & Lob Blowout
A bob or long bob (lob) blowout combines a defined haircut with added body and movement. A rounded brush can lift the roots and curve the ends inward or outward, depending on the desired look.
Blunt bobs often create a fuller, more structured outline, while layered lobs allow more movement through the ends. This style can be worn sleek and smooth or with additional root volume for a fuller finish.
For a layered bob with a dimensional color finish, explore the Luvme Toffee Brown Mix Blonde Layered Bob Wig.

4. Silk Press & Smooth Blowout
A smooth blowout can be a starting point for a silk press-inspired finish, especially for naturally textured hair. The blow-drying stage stretches and smooths the hair, while a silk press typically involves an additional flat-iron step to achieve a straighter, silkier result.
These techniques are related but not identical. A blowout can retain fullness and rounded movement, whereas a silk press generally aims for a smoother, straighter finish while temporarily changing the appearance of natural texture.
For a textured straight appearance with more visible body, explore Yaki Straight Wigs.
Frequently Asked Questions About Blowout Hair
1. Is a Blowout Good for Curly Hair?
Yes, a blowout can work for curly hair when the technique matches your desired finish. A diffuser can help enhance natural curl definition, while controlled brush tension can create a more stretched, voluminous appearance. Use heat protection and avoid excessive heat to help maintain hair condition.
2. How Long Does a Hair Blowout Last?
A hair blowout often lasts around 2–5 days, although the duration varies with hair texture, humidity, activity, and styling products. To help maintain the result, reduce unnecessary moisture and friction while sleeping, and use lightweight products to refresh the shape.
3. How Much Does a Hair Blowout Cost?
The cost of a salon blowout depends on location, hair length, thickness, stylist experience, and additional services. A basic blowout may cost less than a service that includes extensive styling, curls, or special treatments. Contact your chosen salon for its current service menu and pricing before booking.
Find the Right Blowout Style for Your Hair
Whether you prefer a sleek straight finish, a voluminous 90s-inspired blowout, or defined natural curls, understanding different blowout techniques can help you choose a style that suits your hair and personal preferences. The right tools, preparation, and heat-styling approach all contribute to the finished look.
If you love smooth, layered, or textured hairstyles, explore Luvme Human Hair Wigs and discover different ways to enjoy a polished, blowout-inspired appearance.


 + 1
 + 1
 + 44