



Buying your first wig can feel overwhelming because one product page may ask you to compare lace size, cap size, texture, length, density, color, and installation features all at once. The easiest way to make the decision is to separate appearance from practicality. First, decide which styles look most like you. Then check whether the wig fits your head, your skill level, your routine, and your budget.
This beginner guide uses two methods. Method 1 uses Luvme AI Try-On to help narrow the visual choices. Method 2 uses a practical buying checklist to confirm construction, fit, maintenance, and everyday wear before you order.
A good first wig should look like a style you would actually wear and be simple enough for you to install and maintain confidently. Use AI Try-On to compare looks quickly, then confirm wig construction, lace area, cap size, texture, length, density, color, beginner-friendly features, and total budget.
4 Visual Checks Before You Choose Your First Wig
Swipe through these four guides for a quick overview, then use the detailed checklist below to confirm fit, construction, and maintenance.
 ⌕ Click to Enlarge
 ⌕ Click to Enlarge
 ⌕ Click to Enlarge
 ⌕ Click to Enlarge
Swipe on mobile or scroll horizontally to view all four guides. Tap any image to enlarge it.
What Makes Choosing Your First Wig Feel So Confusing?
The difficulty usually comes from making too many decisions at once. A wig may look perfect on a model but require more lace work, styling, or daily maintenance than expected. Another may be easy to install but feel unfamiliar because its length, color, or fullness is very different from your usual look.
Instead of asking, “What is the best wig?” ask, “What is the best first wig for the way I plan to wear it?” A beginner-friendly choice should reduce unnecessary work while still giving you a finished style you enjoy.
- Installation: Can I put it on and finish the front comfortably?
- Fit: Does the available cap range match my actual measurements?
- Style: Does the texture, length, color, and fullness suit the look I want?
- Maintenance: Am I comfortable refreshing, detangling, and storing this hair?
- Budget: Am I paying for features I will actually use?
Why Do First-Time Wig Buyers Choose the Wrong Wig?
Most first-wig mistakes happen when appearance becomes the only buying factor. Larger lace areas, longer hair, higher density, and more styling freedom may sound like upgrades, but each can also add more work.
| Common Problem | Why It Happens | Better Decision |
|---|---|---|
| The wig feels too difficult | The lace area requires more work than expected. | Start with less lace or a prepared front. |
| The wig feels tight or unstable | The cap was chosen without measuring first. | Confirm the product-specific cap range. |
| The hair takes too long to maintain | Texture or length was chosen mainly for appearance. | Match the style to your maintenance routine. |
| The wig looks too full | Higher density was assumed to mean better quality. | Choose fullness for your preferred look. |
How to Choose Your First Wig: Two Beginner-Friendly Methods
Use AI Try-On and a traditional buying checklist for different jobs. AI Try-On answers “Do I like this look on me?” The practical checklist answers “Can I comfortably install, wear, and maintain this wig?”
Use Luvme AI Try-On to Narrow Down Your Style
If you are unsure about length, color, texture, or overall silhouette, a visual preview can help narrow the direction before you compare technical details.
- Test the biggest visual differences first. Compare short versus long, straight versus curly, and dark versus lighter colors.
- Shortlist styles that still feel like you. Think about what you would realistically wear for work, weekends, events, or everyday life.
- Use AI as a style filter, not a fit guarantee. Cap size, construction, and product-specific measurements still need to be checked before buying.
Preview different wig looks before moving on to construction, fit, and maintenance checks.
Confirm the Wig With a Traditional Buying Checklist
Once AI Try-On or your own preferences have narrowed the options, use these seven checks to decide whether a wig is practical for your first purchase.
Choose the Wig Construction and Lace Area
 ⌕ Click to Enlarge
Construction determines how much work the front requires. No-lace, headband, and minimalist-lace styles reduce hairline work. A 4×4 or 5×5 closure can be approachable for a first lace wig, while a 7×6 closure offers more parting room.
Larger 13×4, 13×6, and full-lace constructions generally need more positioning and blending. A useful beginner rule is to choose the smallest lace area that supports the parts and hairline styling you will actually use.
Measure Your Head Before Choosing the Cap
 ⌕ Click to Enlarge
Prepare your natural hair as it will sit under the wig, then measure the circumference, front-to-nape distance, and ear-to-ear distance.
Compare those measurements with the exact size range on the product page. Do not automatically size down for security. A cap that is too small can create pressure without solving placement problems.
Choose a Texture You Can Maintain
 ⌕ Click to Enlarge
Straight and yaki-straight textures are straightforward for many beginners but still need gentle detangling. Body wave gives you movement with moderate refreshing.
Curly, water-wave, and deep-wave textures create more volume but usually need more finger detangling, moisture, and curl definition. Choose the texture based on a routine you can realistically repeat.
Choose a Manageable Length and Density
 ⌕ Click to Enlarge
Short and medium lengths are usually easier to detangle, dry, and store. Long hair creates a stronger transformation but needs more attention around the nape and ends.
Density describes fullness, not hair quality. Around 150% can give lighter fullness, 180% creates a fuller everyday look, and 200% or more creates a more dramatic result that may also feel heavier.
Choose a Color You Will Feel Comfortable Wearing
 ⌕ Click to Enlarge
Natural black and dark brown can be easy starting points if you want to focus on learning the wig itself. Highlights and balayage add dimension without completely changing the overall look.
Blonde, copper, red, and brighter colors create a larger visual change. For a first wig, avoid changing construction, texture, length, density, and color all at once unless you already know that combination works for you.
Look for Beginner-Friendly Features
Pre-cut lace removes the first trimming step. Pre-plucked hairlines reduce manual plucking, while pre-bleached knots can reduce visible knot work. Glueless caps, adjustable bands, drawstrings, bangs, and preset parts may also simplify setup.
These features can make a wig easier to start with, but they do not replace correct cap fit and placement.
Set a Realistic Total Budget
Budget for the whole first-wig routine, not only the wig price. A no-lace or bang wig may require few extras, while a lace style may need additional finishing tools.
Curly textures may benefit from mousse or a hydrating mist, while heat-styled looks may require heat protectant. Buy what your specific wig needs instead of every possible tool at once.
Final Thoughts
The best first wig is not automatically the wig with the largest lace area, highest density, or most styling options. It is the wig that gives you a look you like without requiring more installation and maintenance than you are ready to manage.
Use Luvme AI Try-On to narrow the visual direction, then confirm construction, cap fit, texture, length, density, color, features, and budget before ordering.
Luvme Wigs for First-Time Wig Buyers
Compare beginner-friendly wigs by the amount of installation work and styling flexibility they require.

Best for: avoiding lace cutting and blending
The headband front removes most hairline preparation.

Best for: front coverage and manageable length
A prepared bob and bang shape reduces daily hairline work.
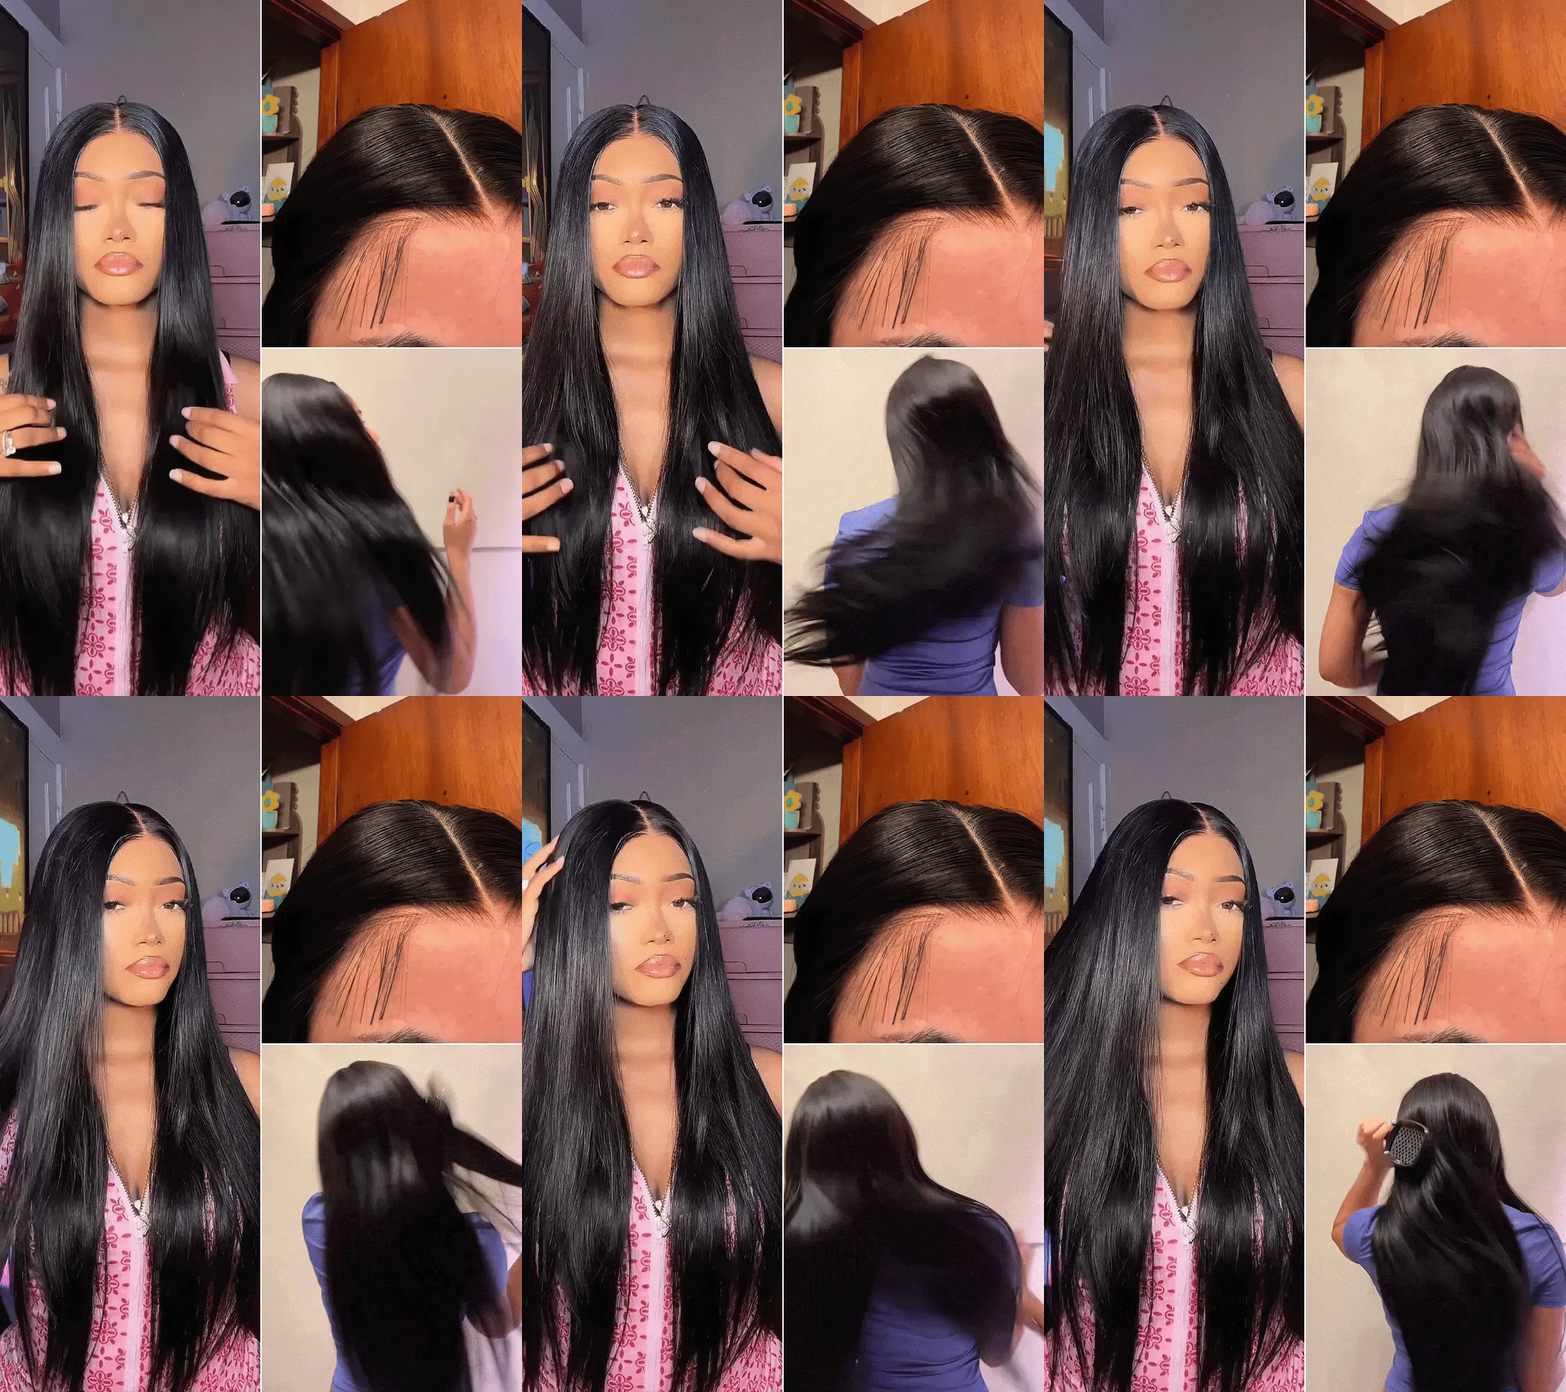
Best for: natural parting with manageable lace
A 5×5 closure introduces lace without full frontal management.

Best for: more styling space
A larger closure gives more parting flexibility without a full frontal.


 + 1
+ 1
 + 1
+ 1
 + 44
+ 44