



Changing a wig from a middle part to a side part can transform the entire style, but the new part must stay inside an area designed to look like a scalp. Moving hair across a lace closure is very different from forcing a part through machine-sewn tracks or a fixed minimalist lace shape.
This beginner guide explains which wig constructions can be reparted, how to recognize the supported parting area, and how to train the roots with a hot comb, blow dryer, mousse, clips, or an overnight setting method. The goal is not simply to draw a new line. The surrounding roots must also be trained to lie naturally in their new direction.
Table of Contents
Can Every Wig Be Parted Anywhere?
No. A wig can create a realistic visible part only where the construction provides lace, a scalp-like hand-tied surface, or a natural-hair opening. Outside that supported area, changing the direction of the hair may reveal tracks, mesh, stitching, or cap material.
A full lace wig usually provides the widest parting freedom because the hand-tied lace extends through more of the cap. Depending on the individual construction, it may support middle parts, side parts, crown parts, braids, half-up styles, and updos.
Closure and frontal wigs provide freedom only within their stated lace dimensions. A 5×5 closure does not become a frontal simply because the hair can be combed farther to one side. Likewise, a 13×4 frontal provides wide front coverage but less depth than a 13×6 frontal.
Minimalist lace and other preset constructions are different. Their small lace shape is created to support a specific middle part, side part, C-part, or finished hairstyle. Although the surrounding hair may be lightly restyled, the visible part itself should remain in the original fixed area.
How Wig Construction Controls the Parting Area
The cap is the map for your part. For a broader explanation of lace, closures, frontals, tracks, and cap interiors, review the wig cap construction guide .
| Wig Construction | Where You Can Part It | Suitable Styles | Beginner Level |
|---|---|---|---|
| 4×4 Closure | Inside the compact square at the front and top | Middle part or a slight side adjustment | Easy |
| 5×5 Closure | Inside a wider and deeper front and top square | Middle part, moderate side part, or soft C-part | Easy |
| 7×6 PartingMax | Inside the 7-inch-wide and 6-inch-deep closure area | Middle, deep side, curved, and C-parts | Easy–Medium |
| 13×4 Lace Front | Across the front hairline with about 4 inches of depth | Middle and side parts across the front | Medium |
| 13×6 Lace Front | Across the front hairline with deeper front parting space | Deep side parts, C-parts, and broader front styling | Medium |
| 360 Lace | Around the perimeter; central cap coverage is product-specific | Ponytails, buns, pulled-back looks, and perimeter styling | Medium–Advanced |
| Full Lace | Across most or all of the hand-tied lace cap | Freestyle parts, braids, half-up styles, and updos | Advanced |
Common closure wigs include 4×4, 5×5, and 7×6 lace areas. A larger closure generally provides more room to move the part while remaining easier for many beginners to manage than full ear-to-ear frontal lace.
A 7×6 PartingMax wig is useful when you want a deep side part or C-part without managing a full frontal. For wider front styling, compare lace front wigs with 13×4 or 13×6 lace.
What You Need to Part a Wig
The pointed end creates the line, while the comb teeth direct small sections to each side.
Clips keep the new part separated while the roots cool, dry, or set overnight.
A stable stand makes it easier to see the lace boundary and work from every angle.
A small amount helps guide the roots without the heavy buildup created by thick gel or wax.
Use heat only on human hair or fibers specifically labeled as heat-safe.
Apply lightly to the hair before using a heated tool. Avoid saturating the lace or knots.
A small amount can reduce contrast between the lace and the visible scalp area.
Useful for holding the front and roots flat during a no-heat overnight setting method.
How to Part a Wig Step by Step
See How to Part a Wig Before You Start
Watch the full technique first, then use the eight steps below as a reference while you create and set the new part.
Tip: check the lace boundary before changing the part, then train the surrounding roots to follow the new direction.
Step 1: Secure and Detangle the Wig
Place the wig on a mannequin head or put it on securely. Center the cap before changing the part so the new line does not appear uneven after the wig is repositioned.
Detangle from the ends upward. For curly hair, separate the roots and larger sections with your fingers first so the curl pattern is not brushed out unnecessarily.
Step 2: Identify the Lace Boundary
Turn the wig inside out and locate where the lace ends and the tracks or regular cap begin. Return the wig to the correct position and use your fingers to estimate that same boundary from the outside.
The complete visible part must remain inside the lace. Stop if the comb begins exposing stitching, tracks, or solid cap material.
Step 3: Choose the New Parting Line
Decide whether you want a middle, side, deep side, or C-part. Begin at the front hairline and use the pointed end of a tail comb to sketch the direction.
A middle part should align with the center of the face. A side part can begin above the eyebrow arch, while a C-part should curve gradually rather than turn sharply.
Step 4: Separate Small Sections
Move a narrow row of hair to one side, then another narrow row to the opposite side. Working in small sections helps the roots change direction without pulling the knots or exposing the cap.
Clip each side away from the line. Do not grab a large section and force it across the part in one movement.
Step 5: Set the Roots With Heat or Overnight Clips
The new line will not look finished until the roots are trained to lie in their new direction. Choose one of the following methods according to the wig material, texture, and time available.

Apply a light heat protectant to dry human hair. Hold the selected hair away from the lace and pass the back of a low-temperature hot comb over the roots. Work outward from the part rather than pressing the heated teeth directly onto the lace.

Apply a small amount of mousse at the roots. Use a comb or brush to direct the hair away from the part while applying low or cool airflow. Keep the dryer moving and hold the roots in position until they cool.

Apply light mousse to the roots, comb both sides into position, and place flat clips parallel to the part. Cover the top with a satin scarf or elastic band and leave the wig on a stand overnight. Remove the clips only after the roots are fully dry.

Set only the first inch or two near the roots. Avoid flattening the full curl pattern. After the part is fixed, lightly mist and finger-style the lengths to restore volume around the new direction.
Step 6: Define the Part
After the roots cool or dry, remove the clips and run the tail comb through the line again. Correct stray hairs one small section at a time.
Do not begin by plucking. First check whether root training and better separation already create enough visible scalp. If the wig is pre-plucked, additional removal may make the part too wide.
Step 7: Add Scalp-Toned Powder if Needed
Use a narrow brush to apply a small amount of powder along the lace. Blend the product inside the line rather than spreading it over the surrounding roots.
Stop before the part becomes brighter than the wearer's scalp. Thick concealer or foundation may collect around the knots and make the line look painted.
Step 8: Check the Part From Every Angle
Look at the front, sides, crown, and back. Confirm that the line remains inside the lace, both sides of the hair have balanced volume, and no tracks are visible.
Allow the style to rest for several minutes before adding more product. When using the overnight method, gently shake or finger-style the lengths after removing the scarf so the roots remain controlled without making the entire wig look flat.
Luvme Wigs for Different Parting Needs
The best construction depends on how often you want to change the part, how deep you want the line to extend, and how much lace work you are comfortable managing. The following styles range from a manageable 5×5 closure to full lace for broader styling freedom.
Swipe on mobile or scroll horizontally on desktop to compare all six constructions. Product specifications and availability may change.
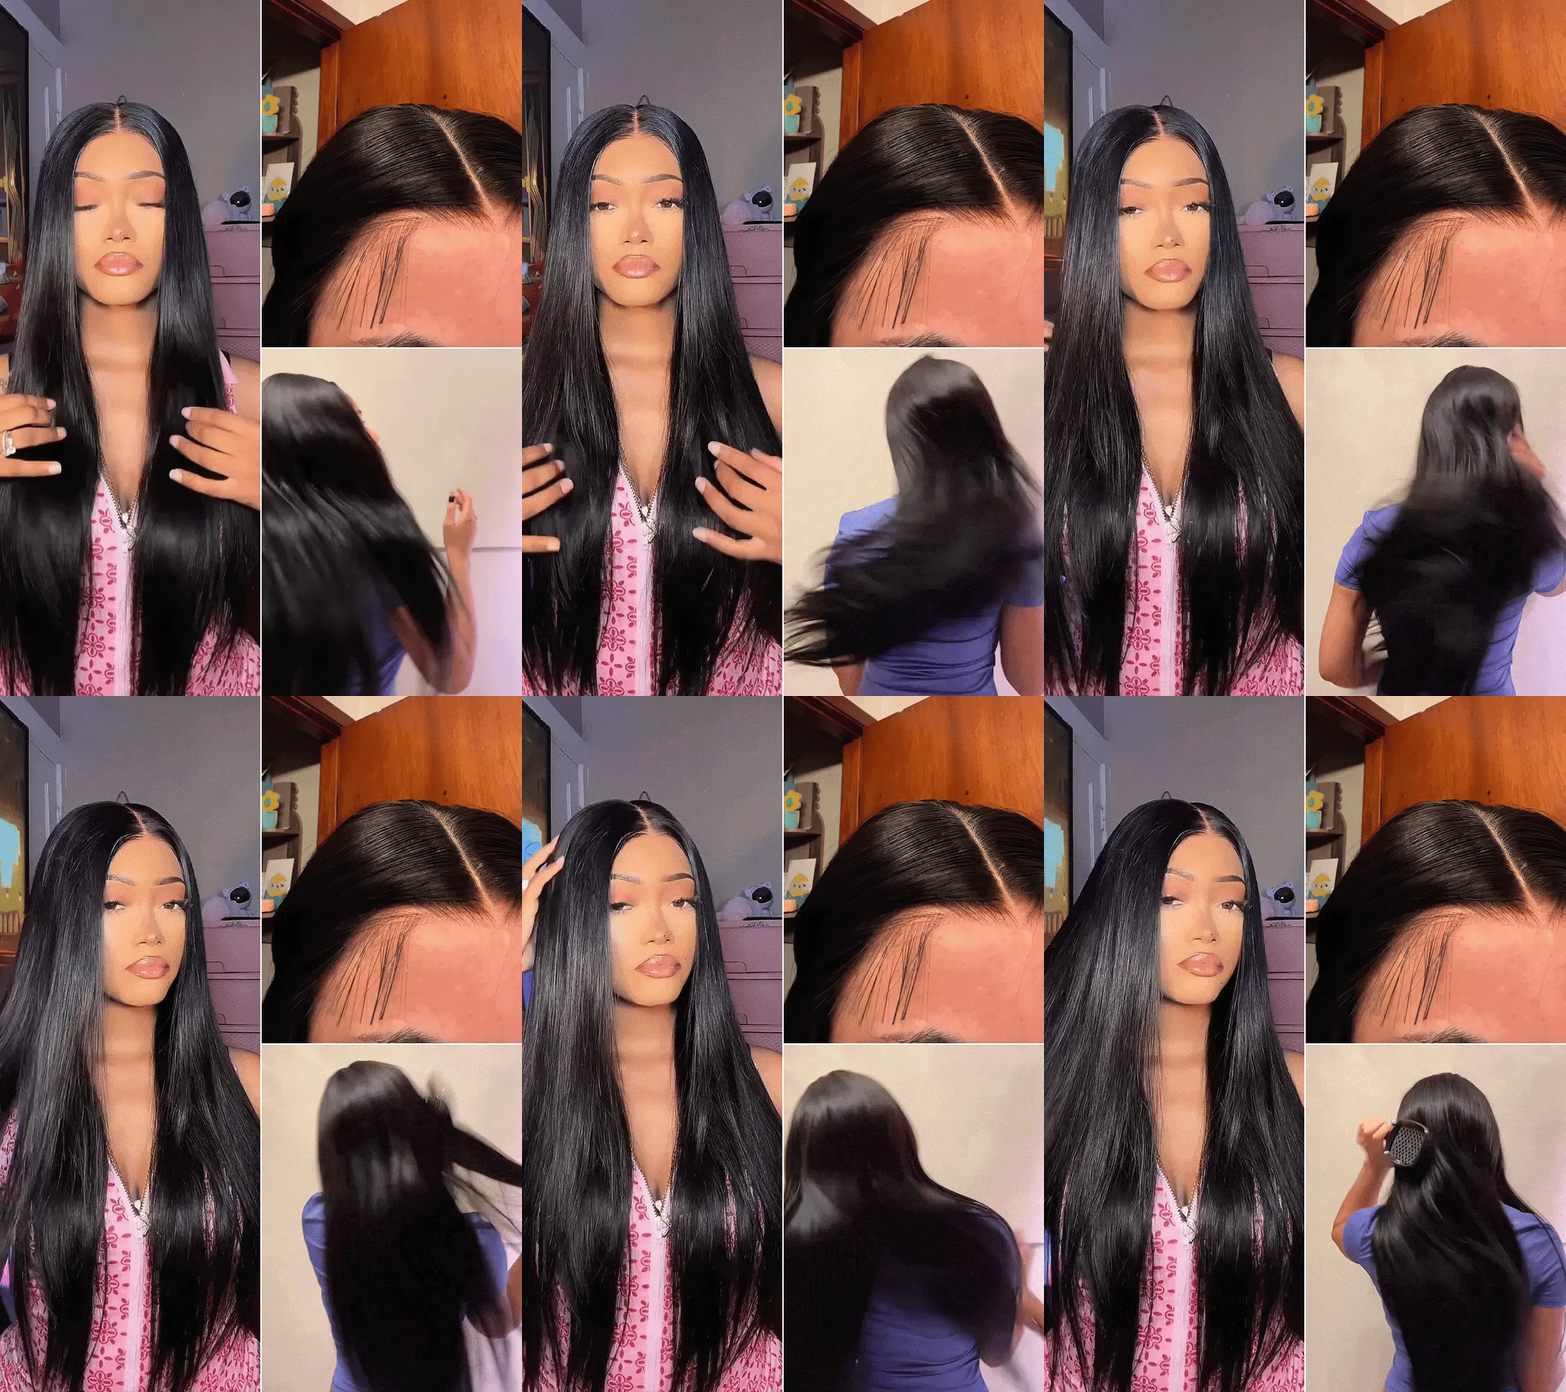
AiryFit Silky Straight 5×5 Closure Wig
Best for: middle and moderate side parts
The 5×5 lace provides beginners with more space than a compact closure while keeping the lace area manageable.

PartingMax Silky Blunt Cut Bob
Best for: middle, side, deep side, and C-parts
A wider and deeper closure for wearers who want more front and top variation without full ear-to-ear frontal lace.

Water Wave 13×4 Frontal Free-Part Wig
Best for: multiple front part positions
Ear-to-ear front lace allows the part to move across the front, while the 4-inch depth limits how far it can extend toward the crown.

NatureMAX Loose Wave 13×6 Frontal Wig
Best for: deeper side parts and broad front styling
The deeper 13×6 frontal provides more front-to-back room than a 13×4 for deep side and curved parts.

Water Wave 360 Lace Wig
Best for: perimeter styling and updos
Its lace perimeter supports ponytails and pulled-back styles, while crown parting should follow the product's central cap construction.
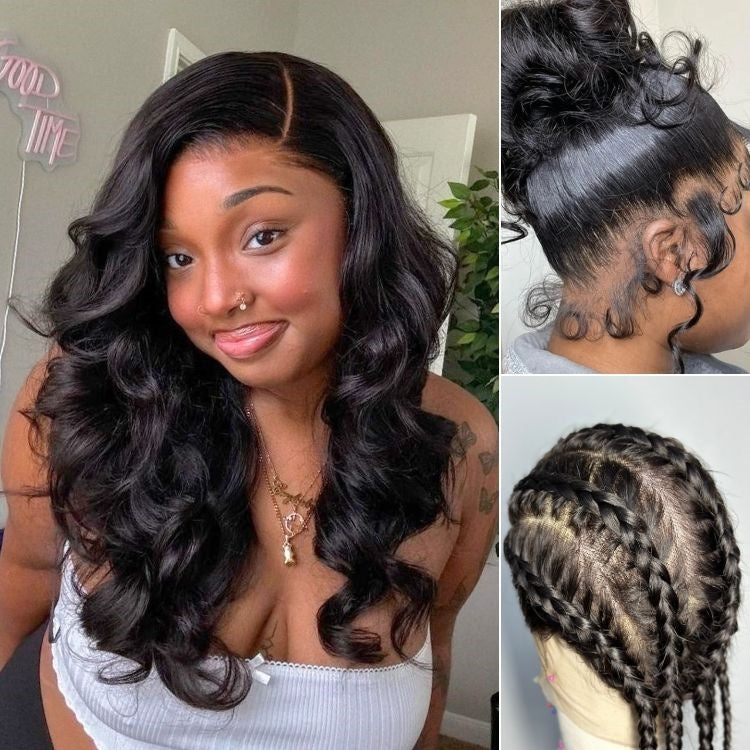
Full Lace Body Wave Free-Parting Wig
Best for: broad freestyle parting, braids, and updos
Full lace offers the widest styling surface for wearers who need more than front-only parting freedom.
Conclusion
A wig can be reparted only where its cap provides a suitable scalp-like surface. Full lace offers the broadest freedom, while closures, frontals, and 360 lace each have specific boundaries. Minimalist lace and preset-part designs should remain in the parting shape created for that product.
After creating a new line, train the roots instead of relying only on powder or plucking. Low heat can set compatible human hair quickly, while mousse, flat clips, a satin scarf, and an overnight setting method provide a beginner-friendly no-heat option. When the construction is fixed, keeping the original part will look more natural than forcing hair over visible tracks.


 + 1
+ 1
 + 1
+ 1
 + 44
+ 44