


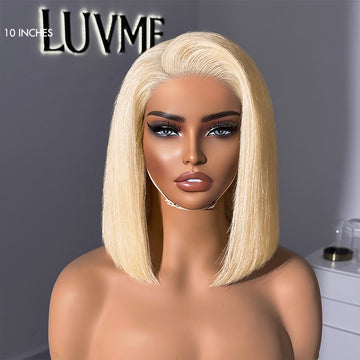
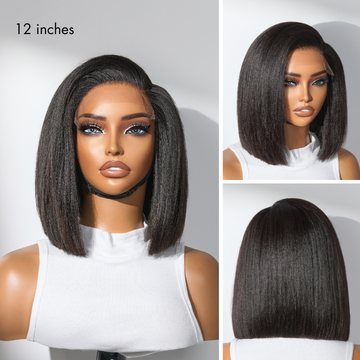
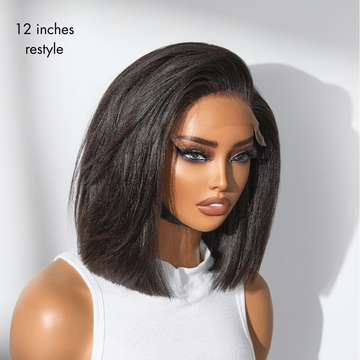
Side part wig


Related Wigs
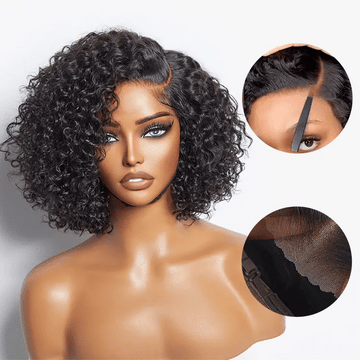
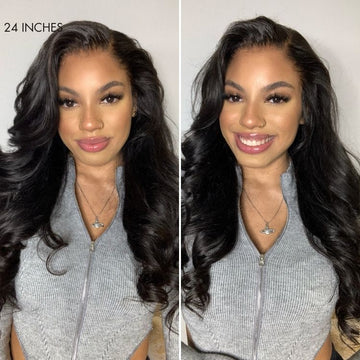
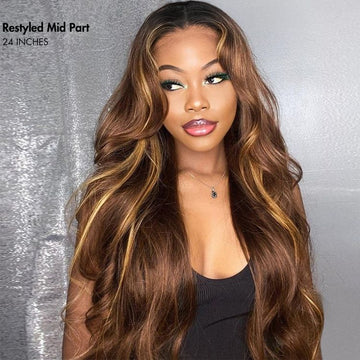
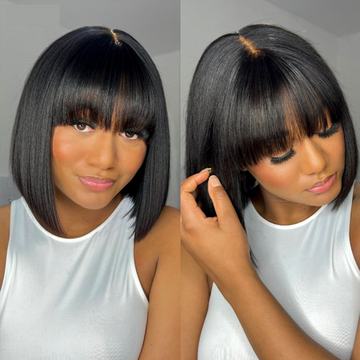
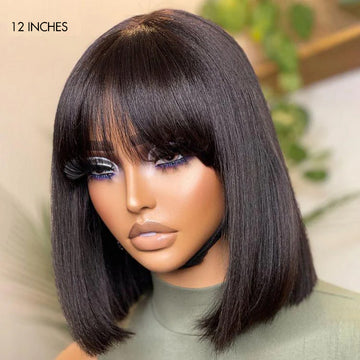
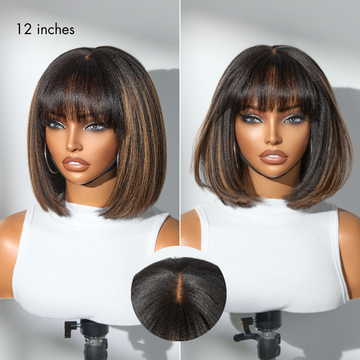
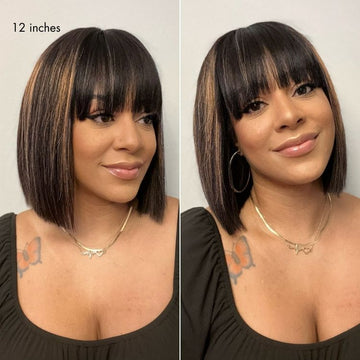
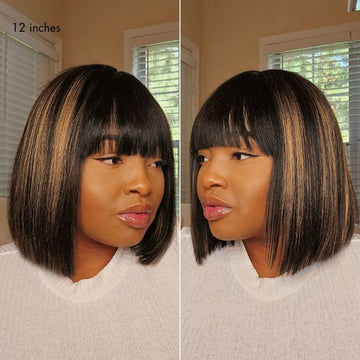
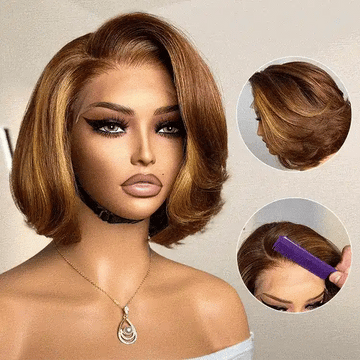
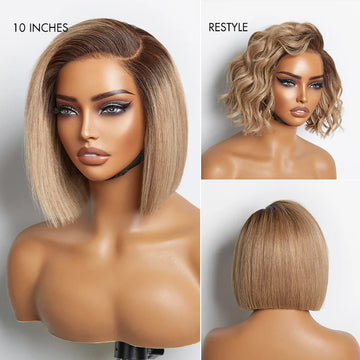
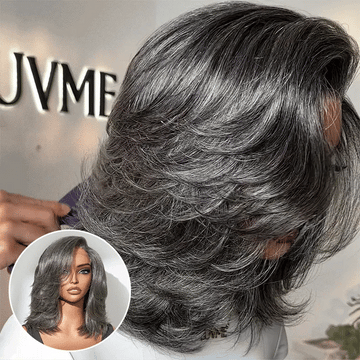
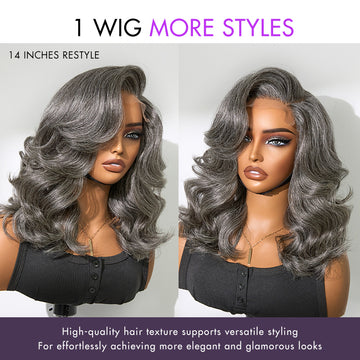
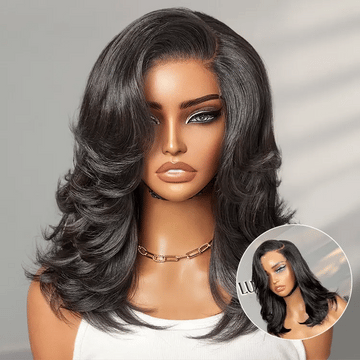
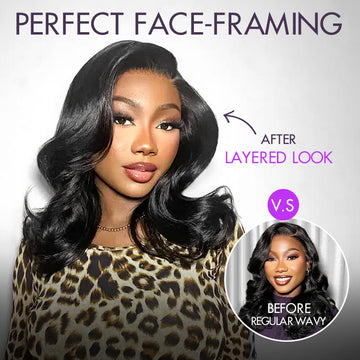
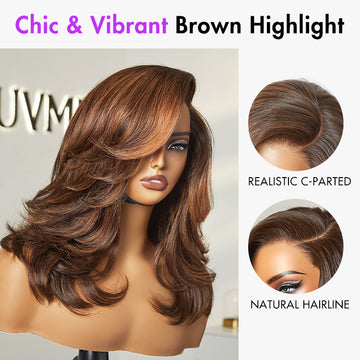
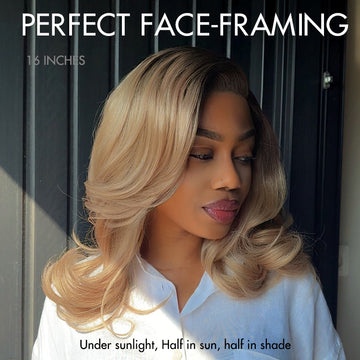
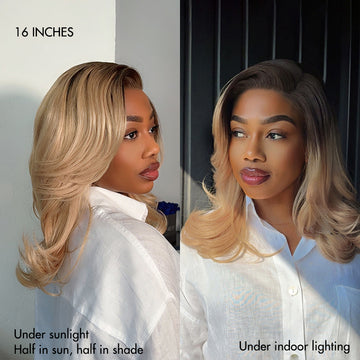
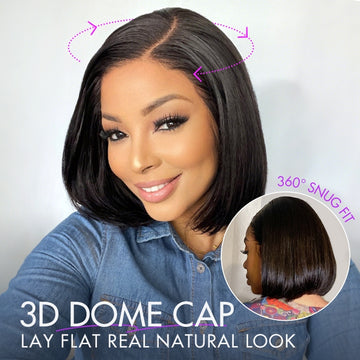
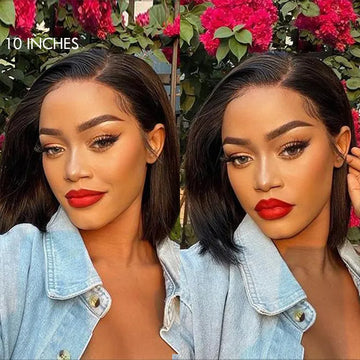
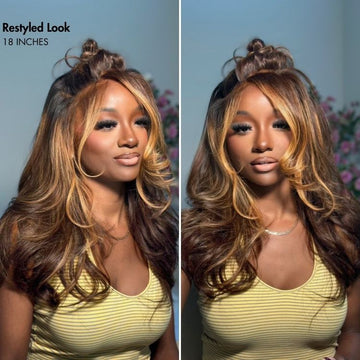
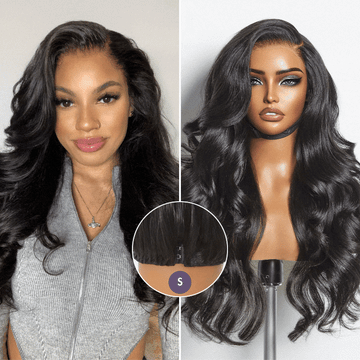
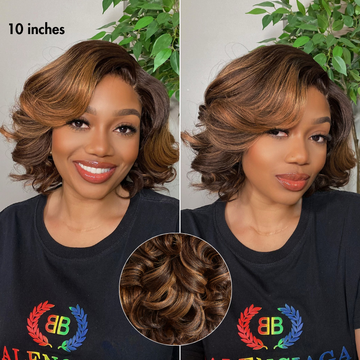
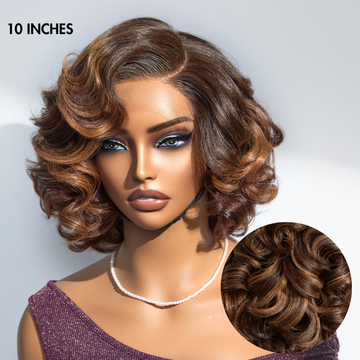
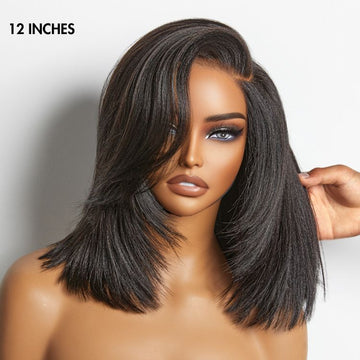
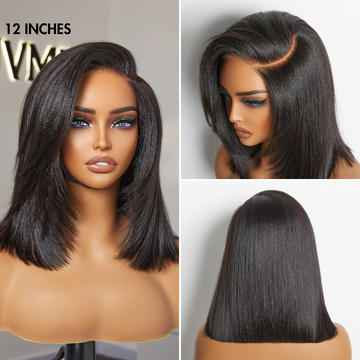
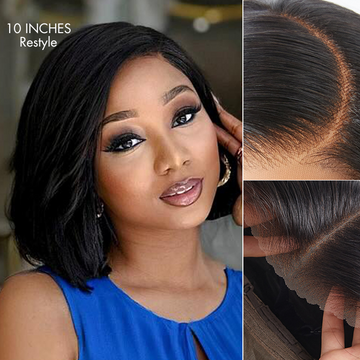
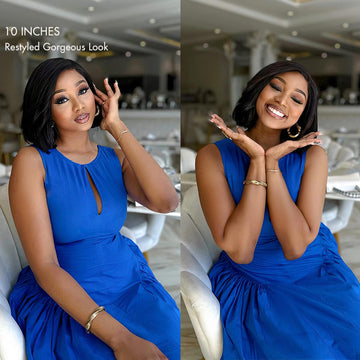
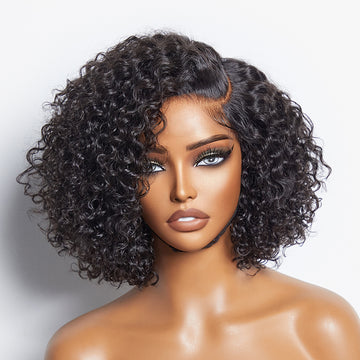
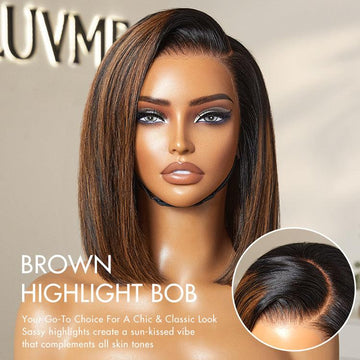
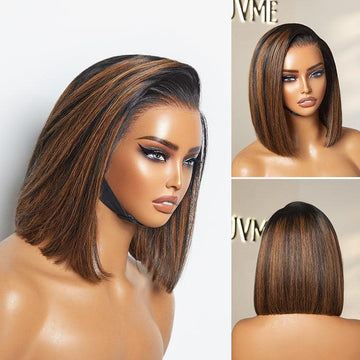
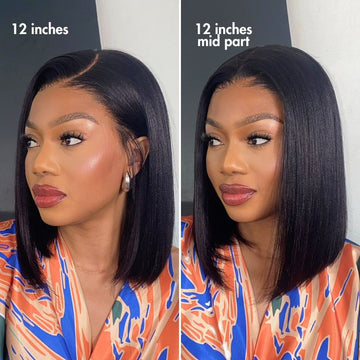
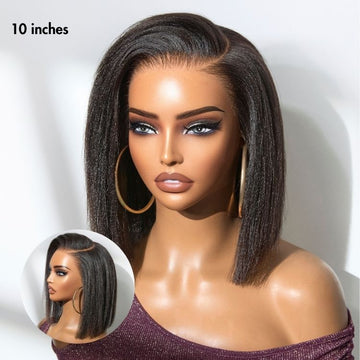
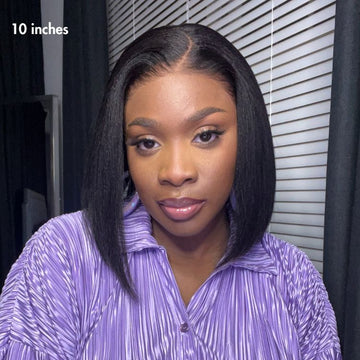
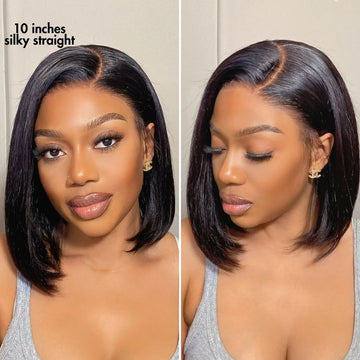
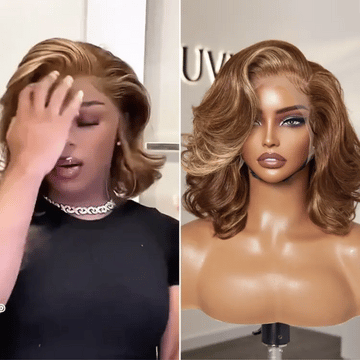
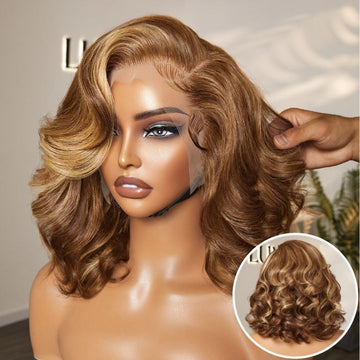
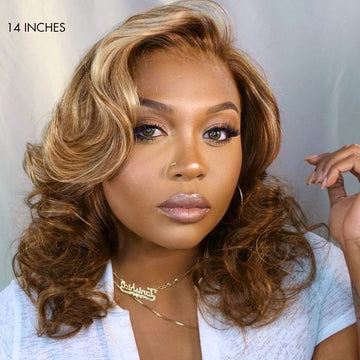
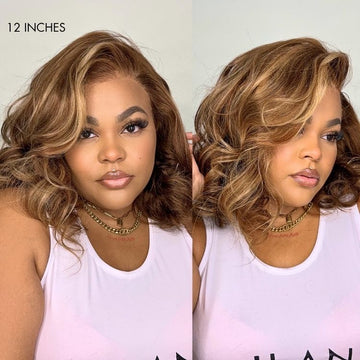
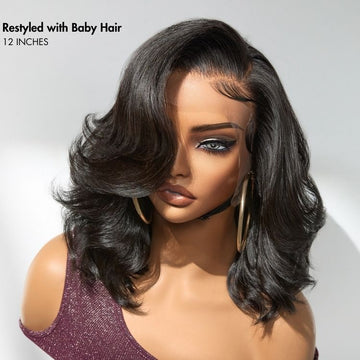
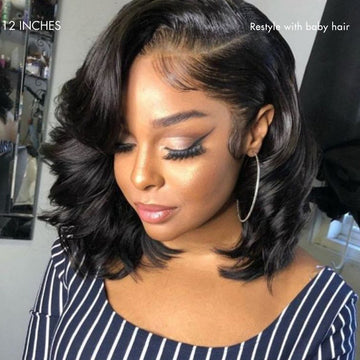
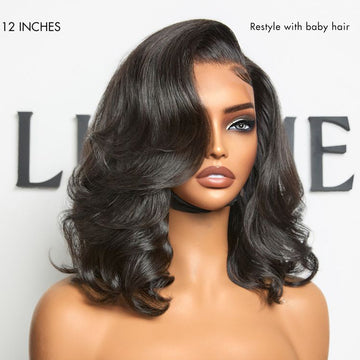
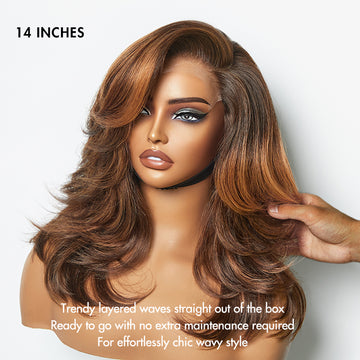
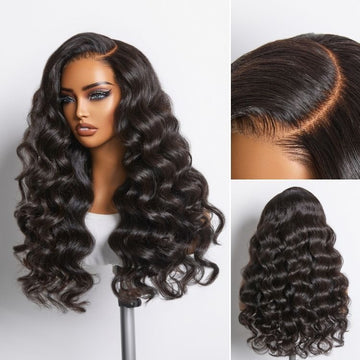
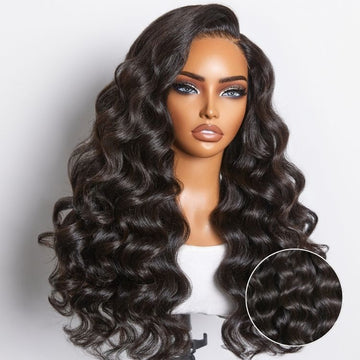
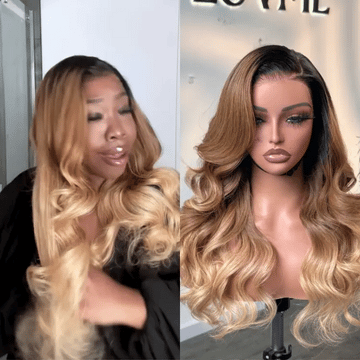
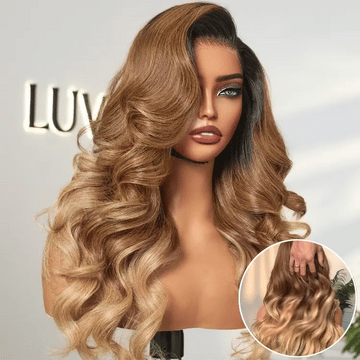
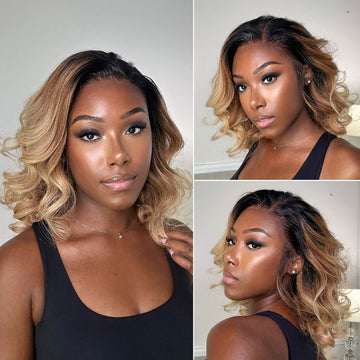
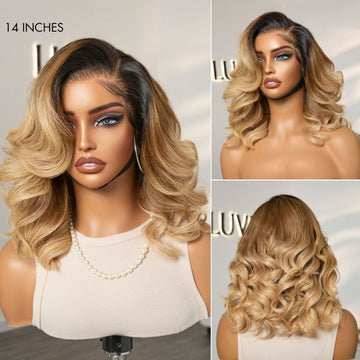
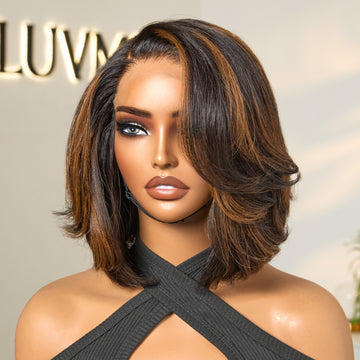
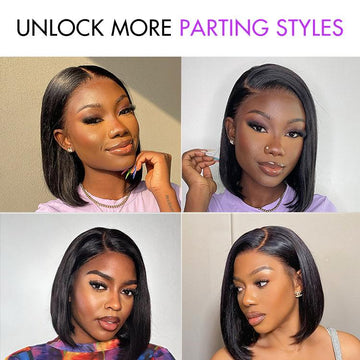
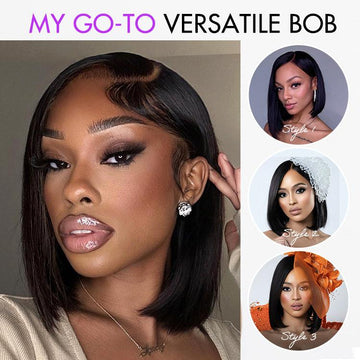
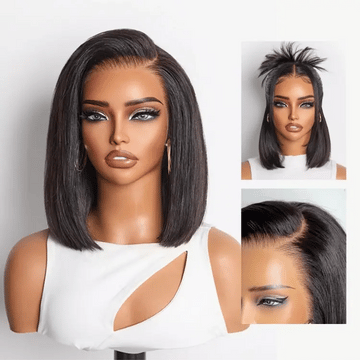
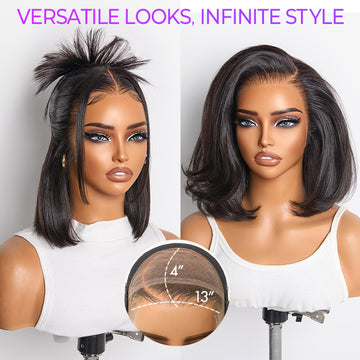
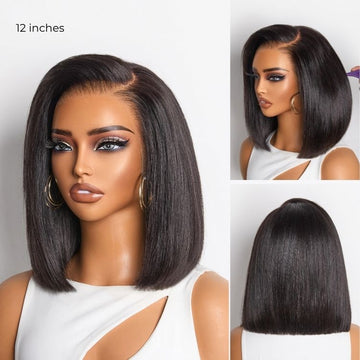
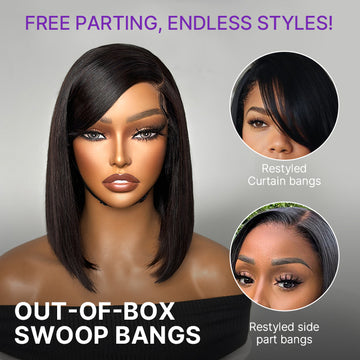
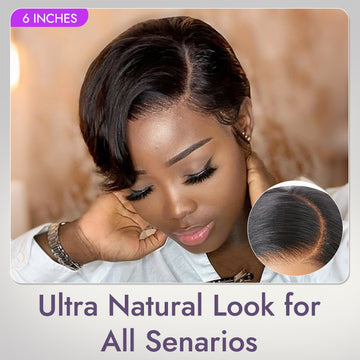
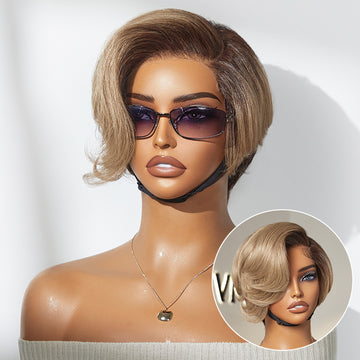
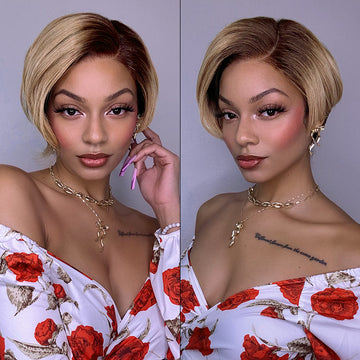
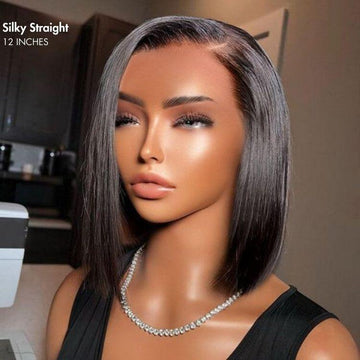
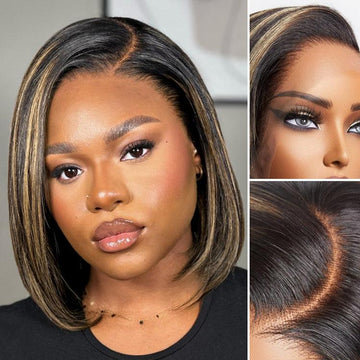
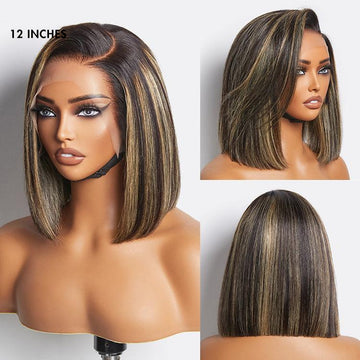
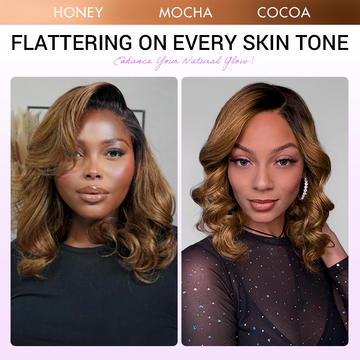
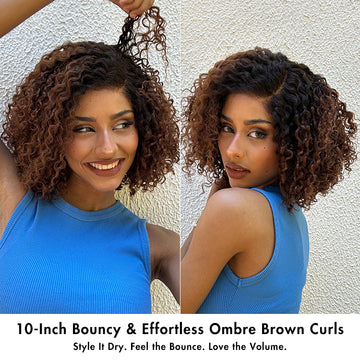
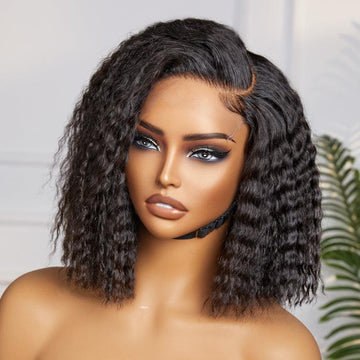
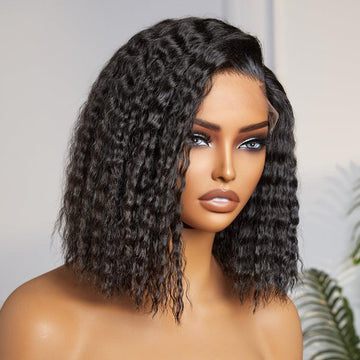
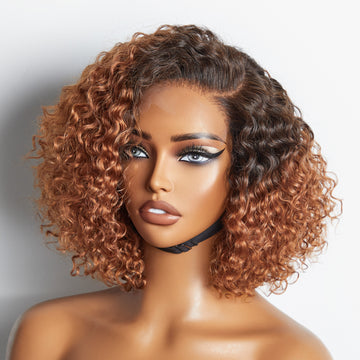
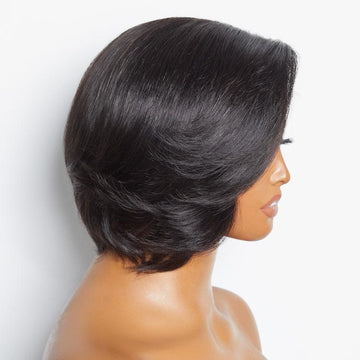
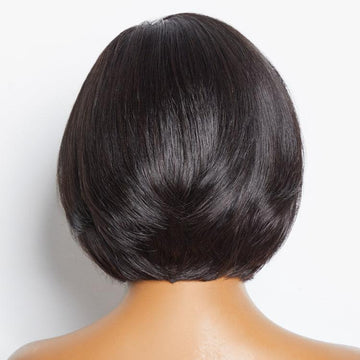
The Art of the Side Part Wig: A Style Statement
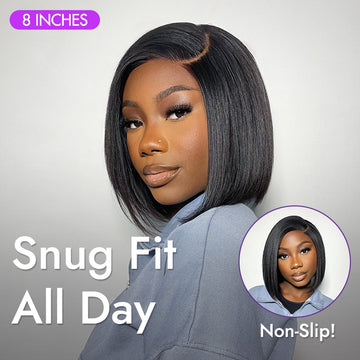
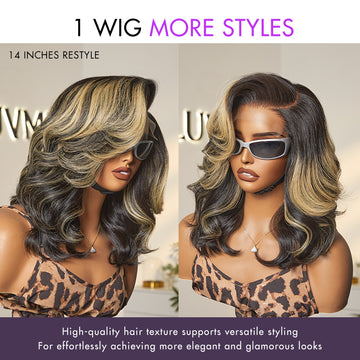
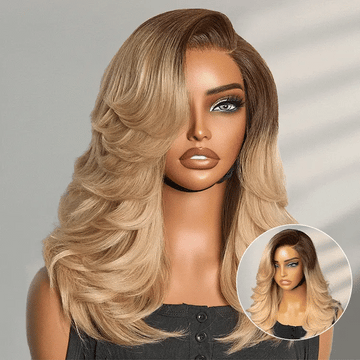
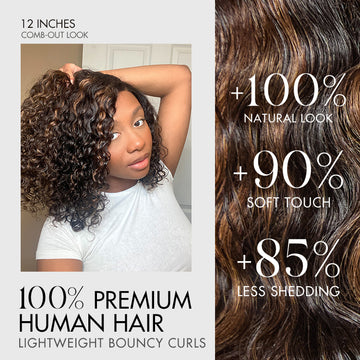
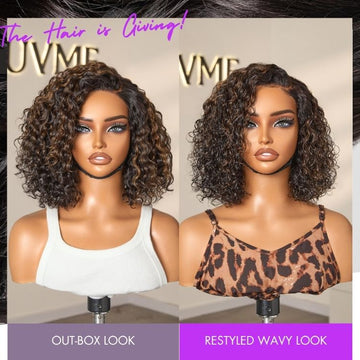
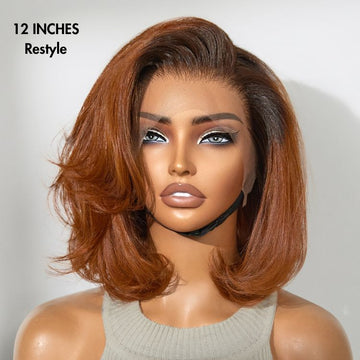
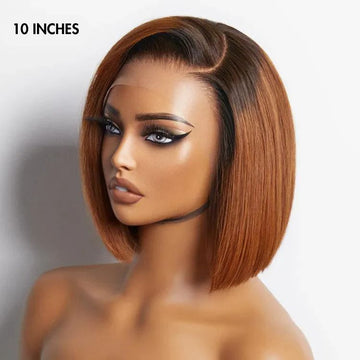
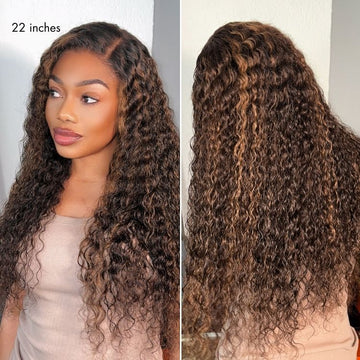
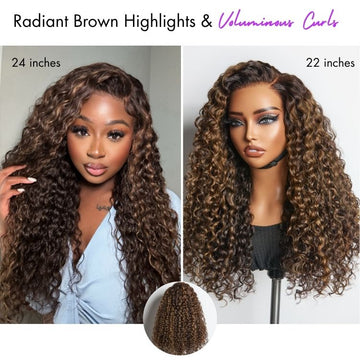
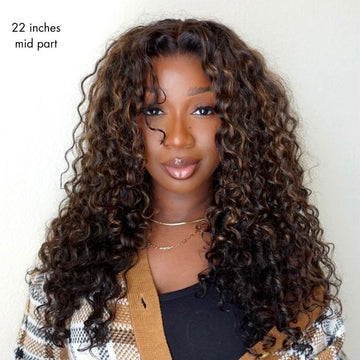
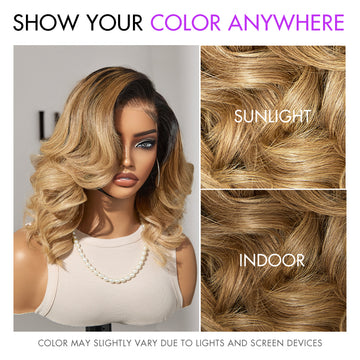
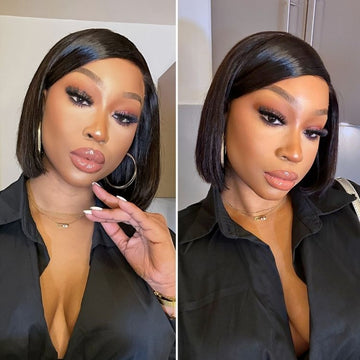
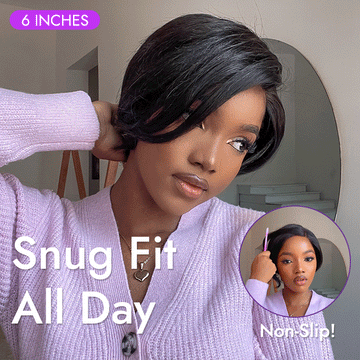
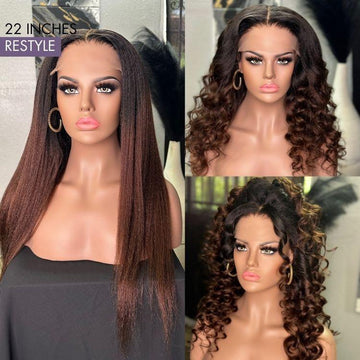
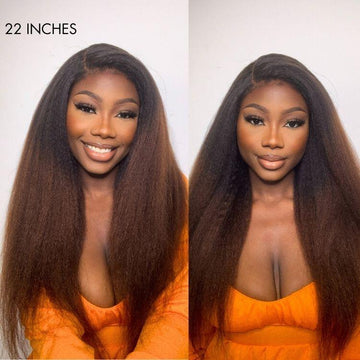
The side part wig has long been a favorite among fashion-forward individuals, offering a timeless look that never goes out of style. Whether you're seeking a subtle change or a dramatic transformation, our collection has something for everyone.
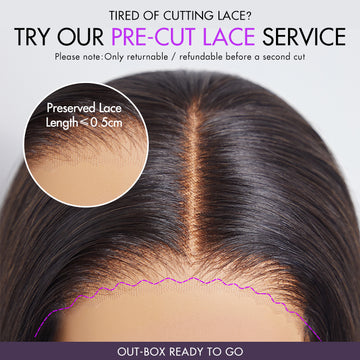
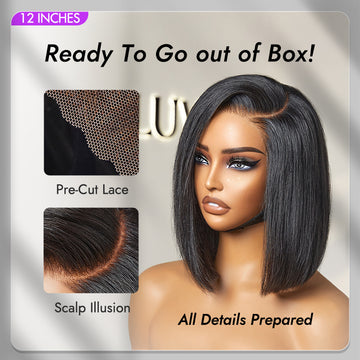
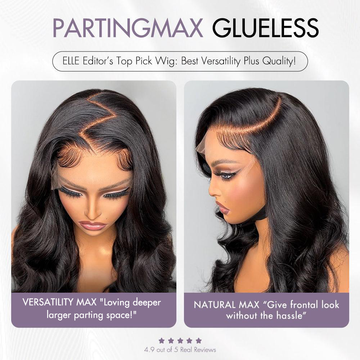
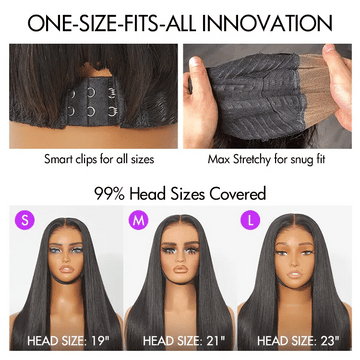
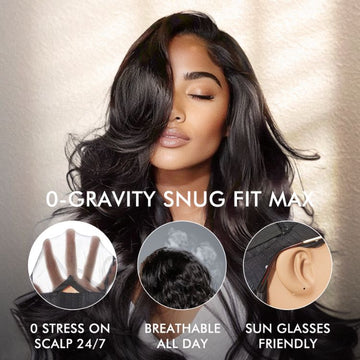
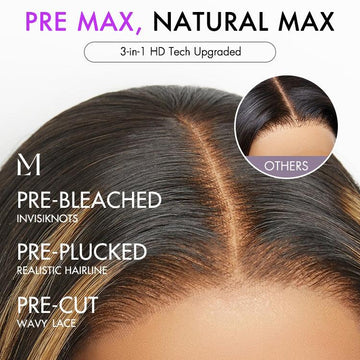
Why choose Luvme Side Part Wigs?
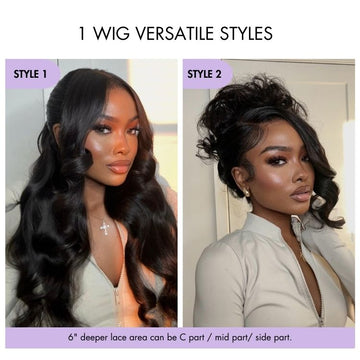
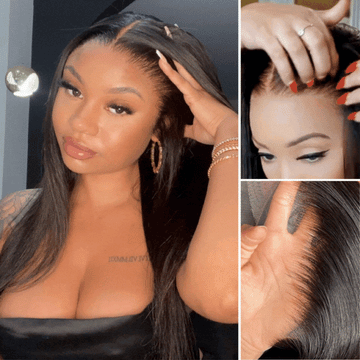
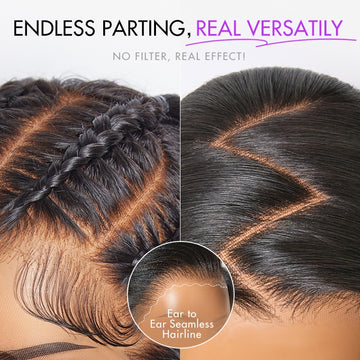
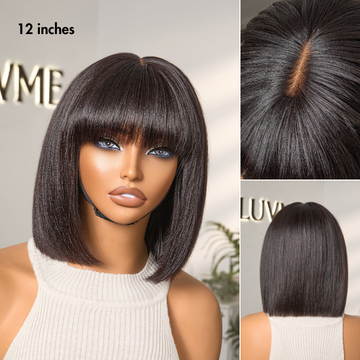
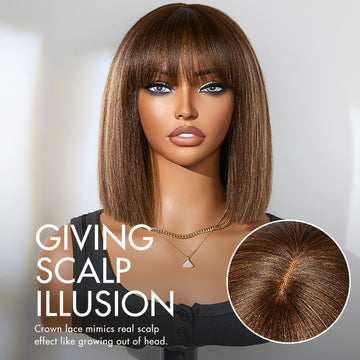
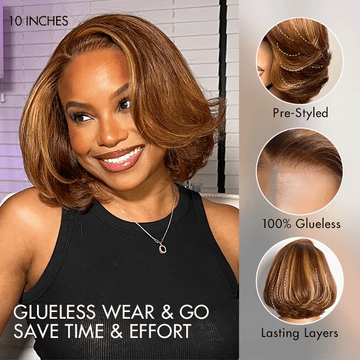
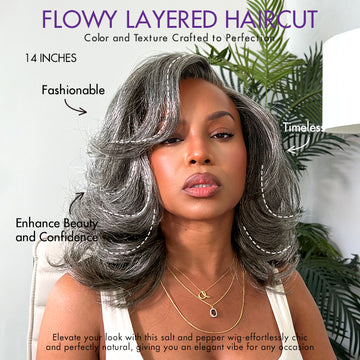
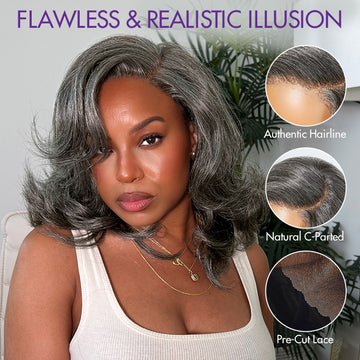
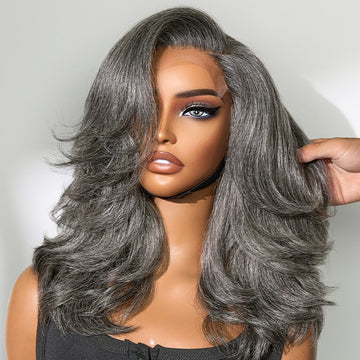
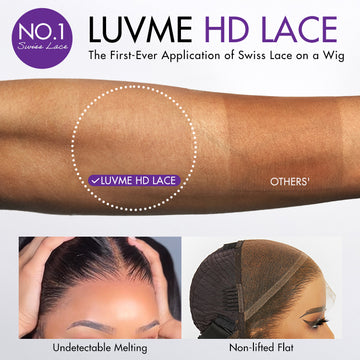
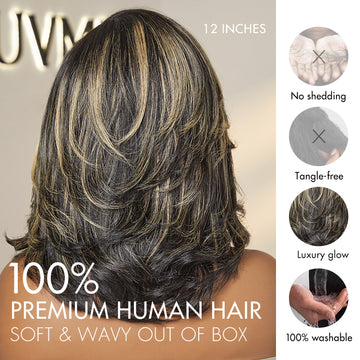
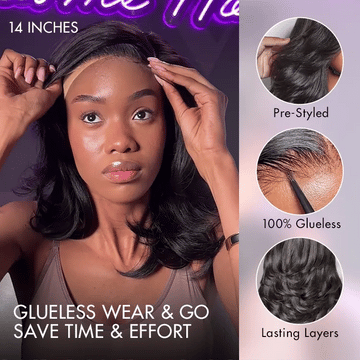
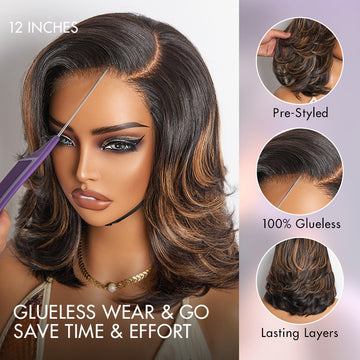
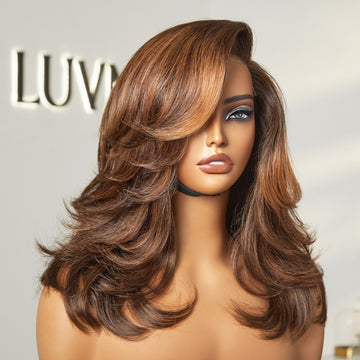
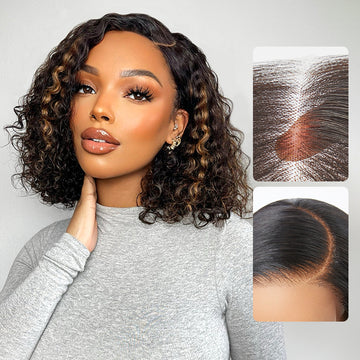
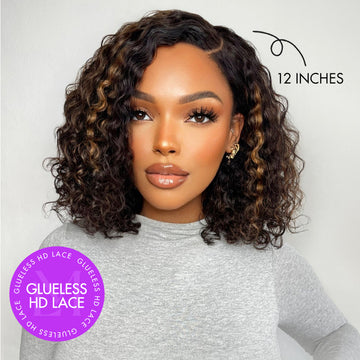
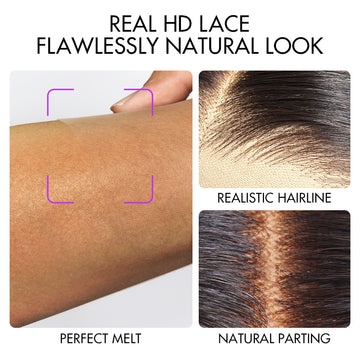
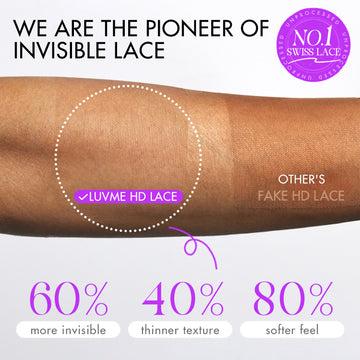
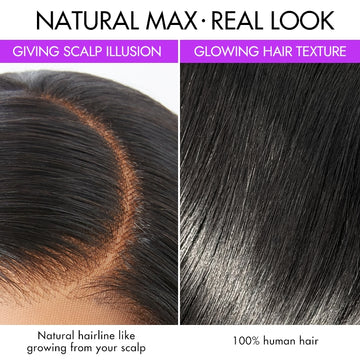
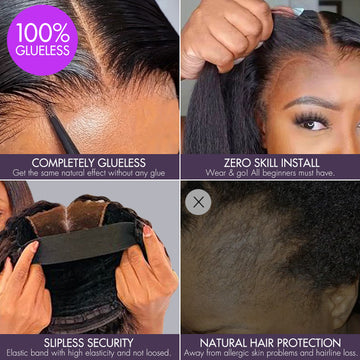
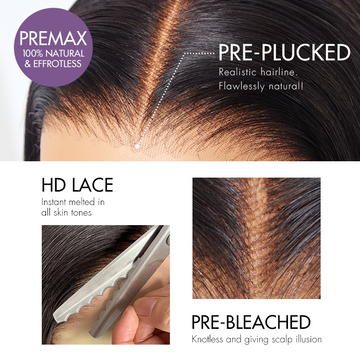
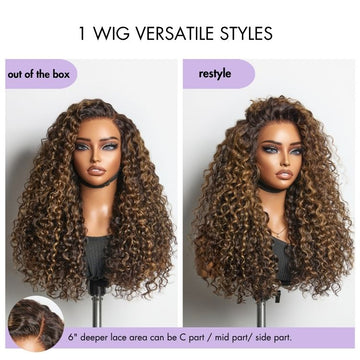
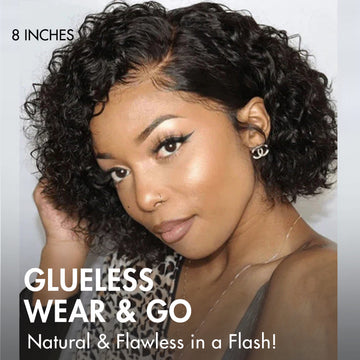
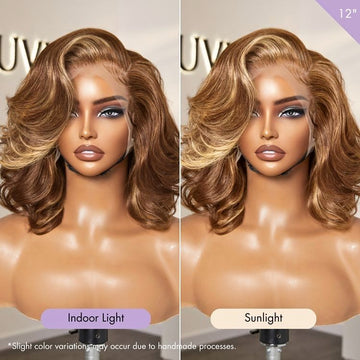
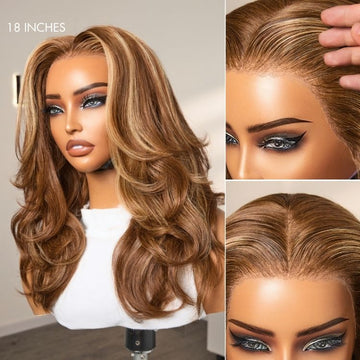
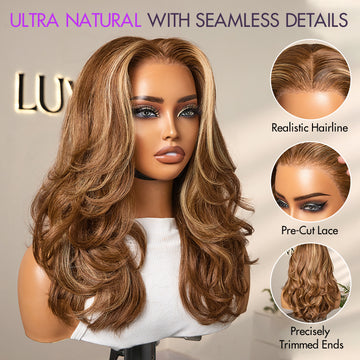
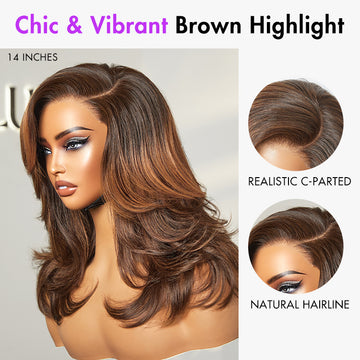
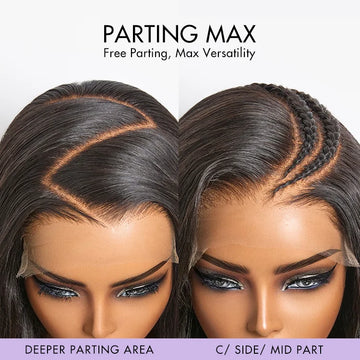
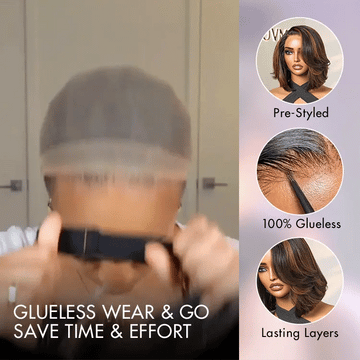
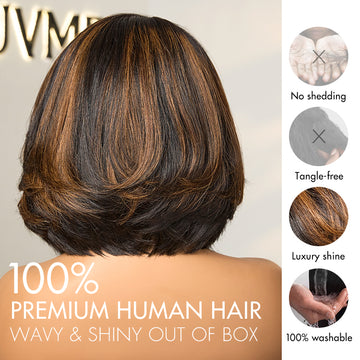
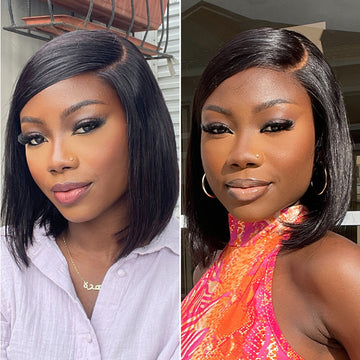
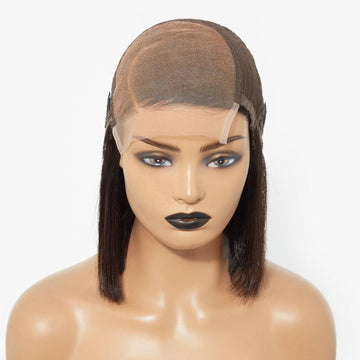
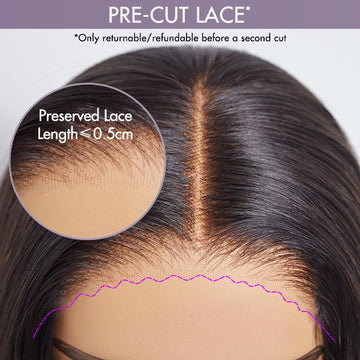
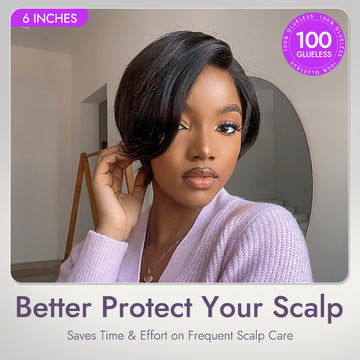
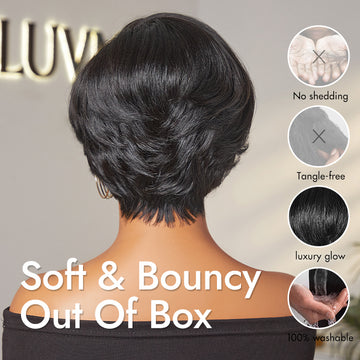
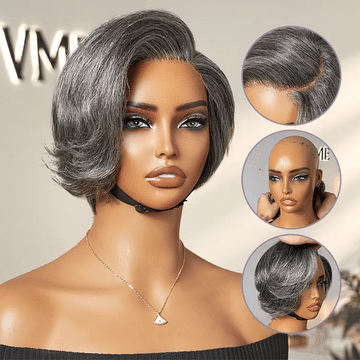
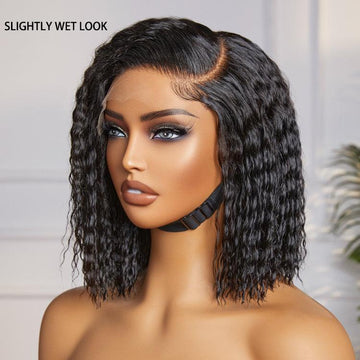
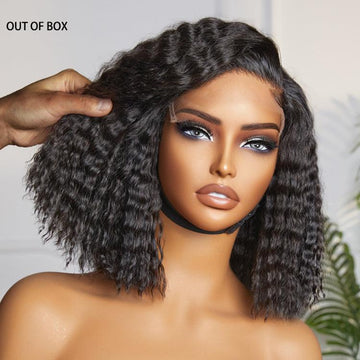
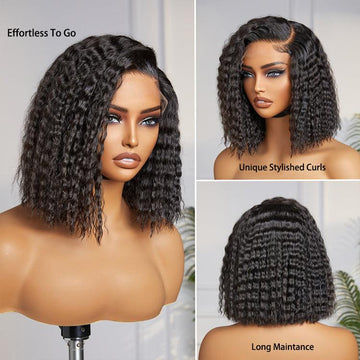
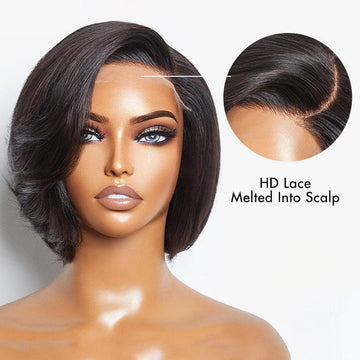
Luvme Side Part Wigs will definitely be your best choice in choosing wig styles, because this type of wig can provide you with seamless blending effects to create the best and most natural parting styles. If you are looking for a pre-style, pre-parted wig that allows you to easily and conveniently have a free and functional style, you can choose it.
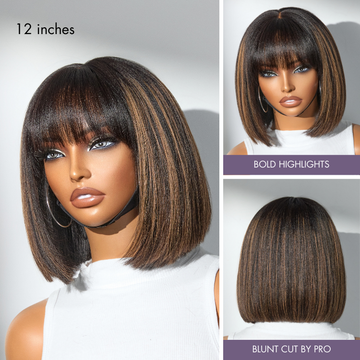
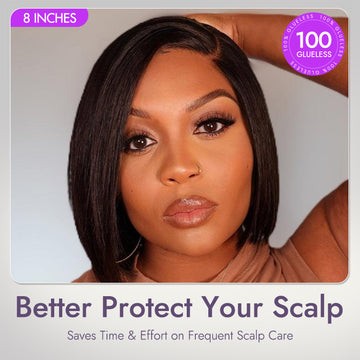
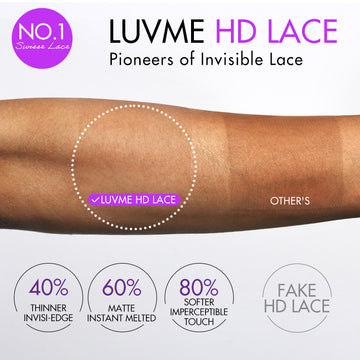
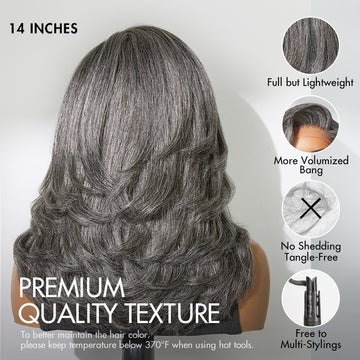
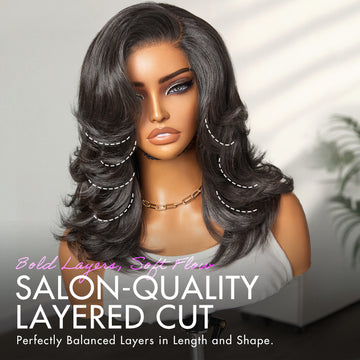
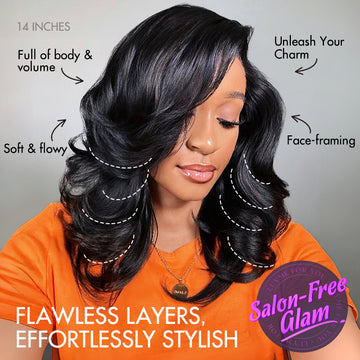
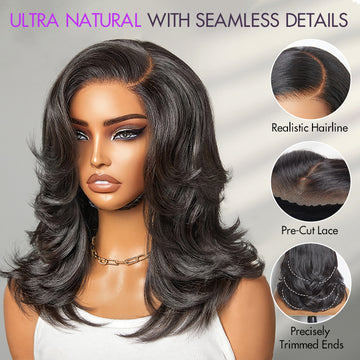
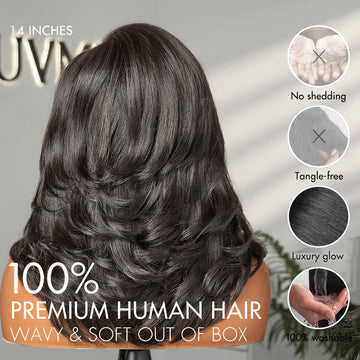
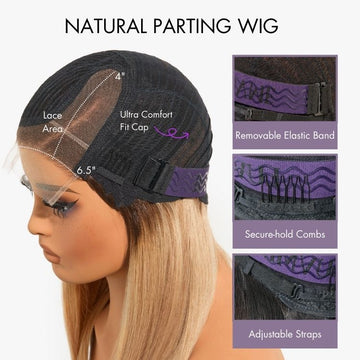
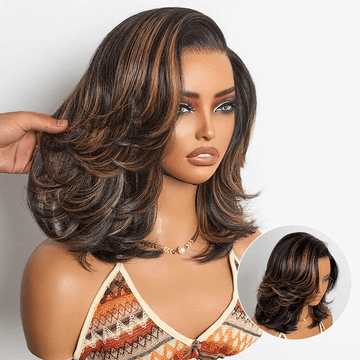
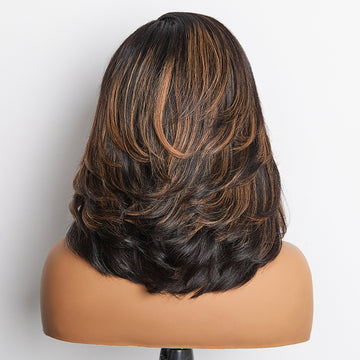
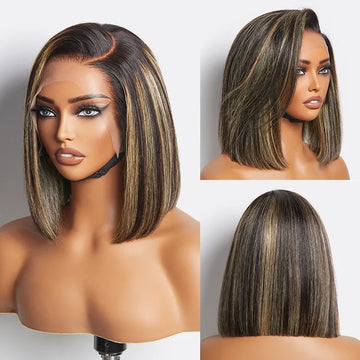
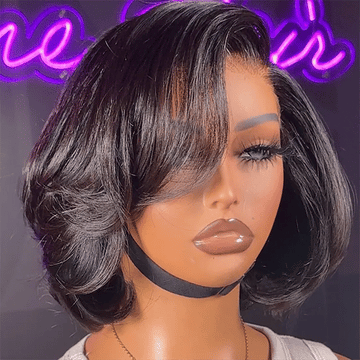
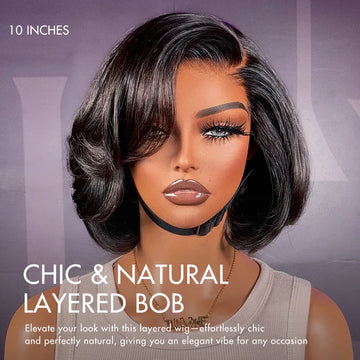
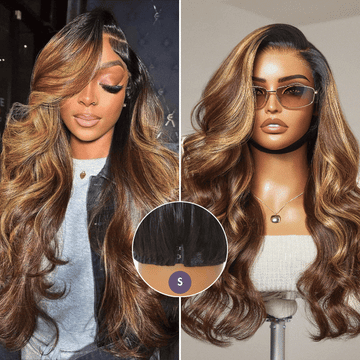
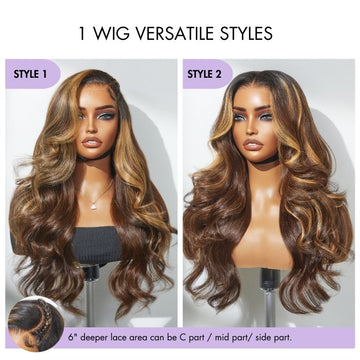
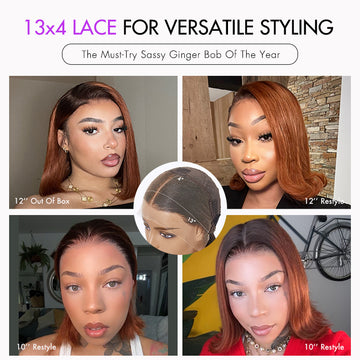
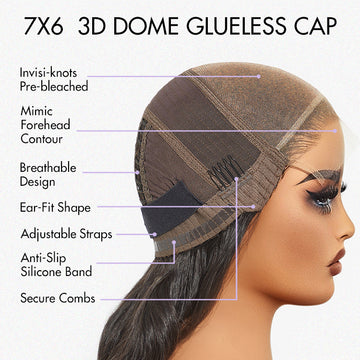
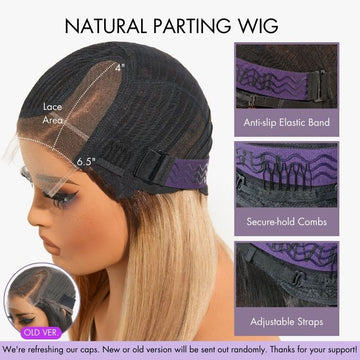
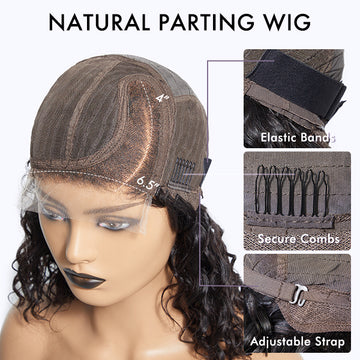
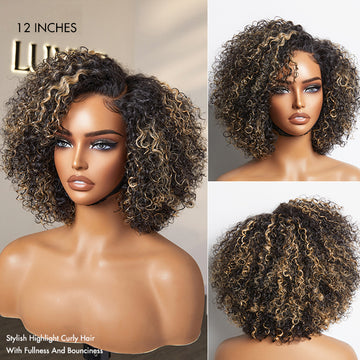
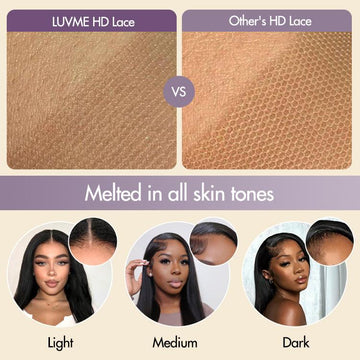
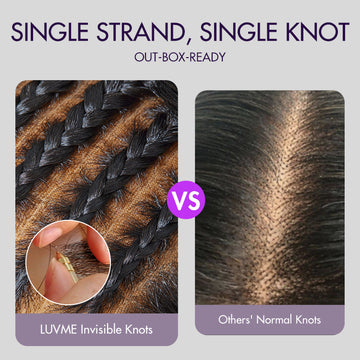
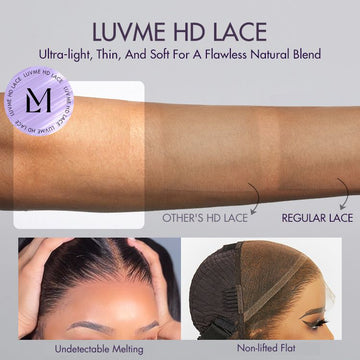
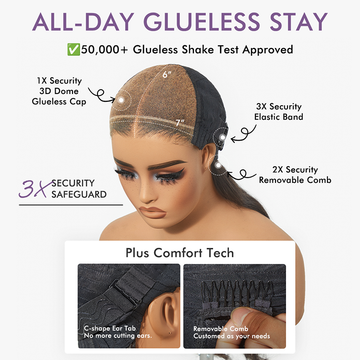
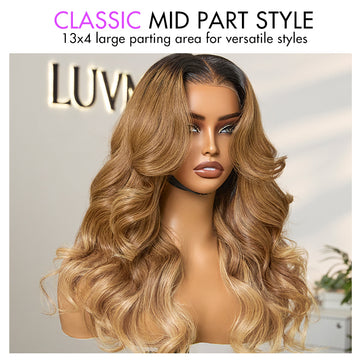
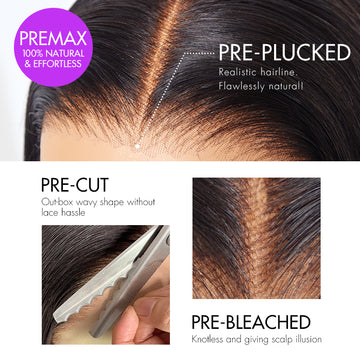
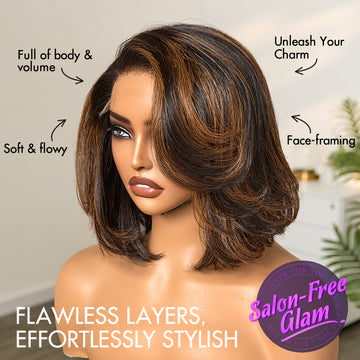
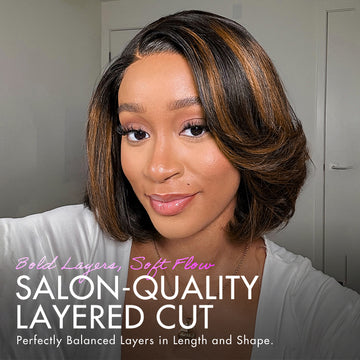
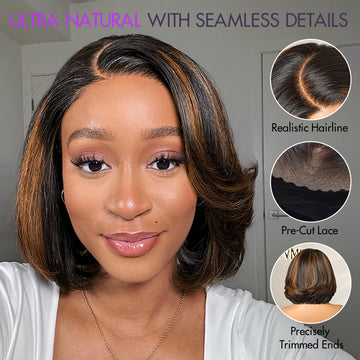
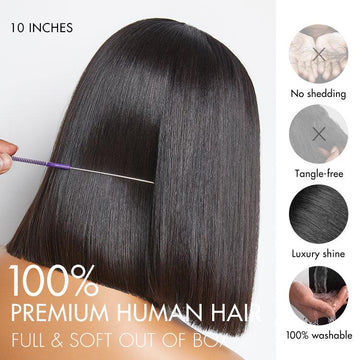
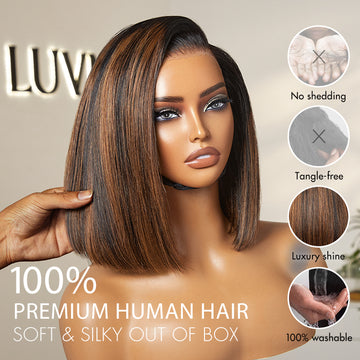
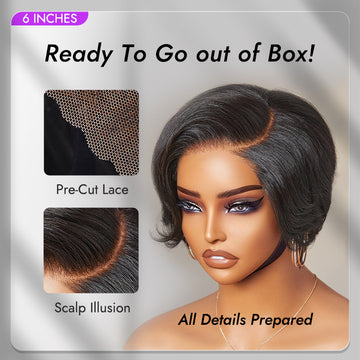
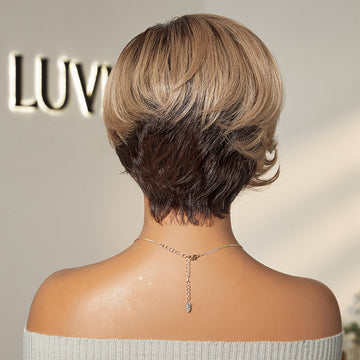
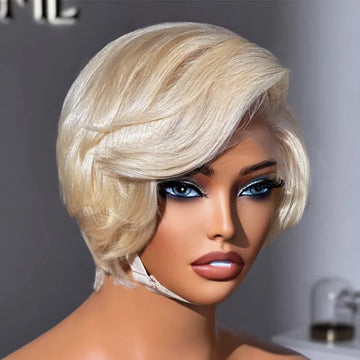
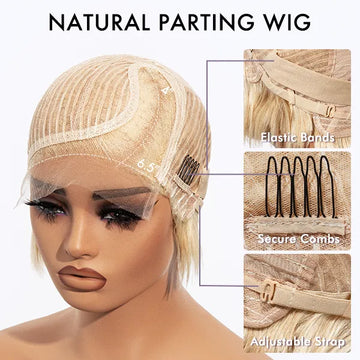
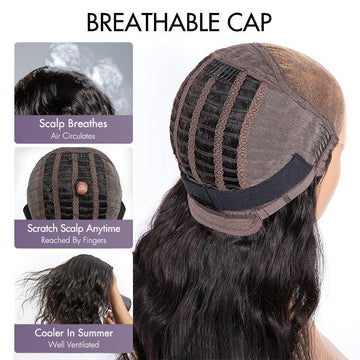
Luvme Side Part Wigs Features
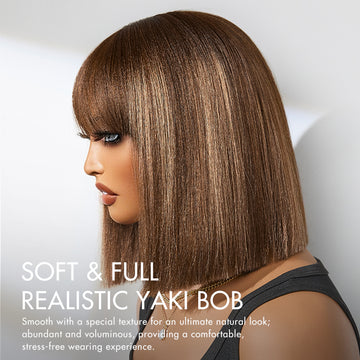
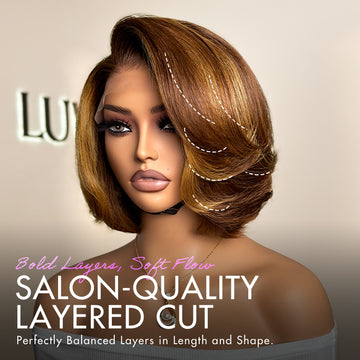
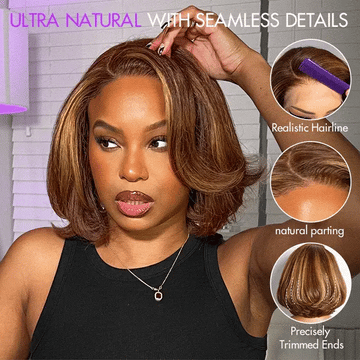
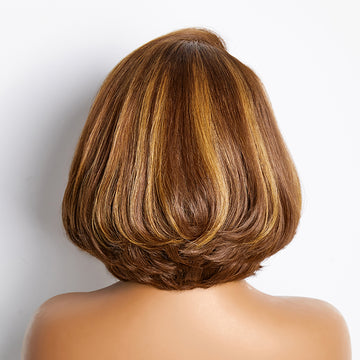
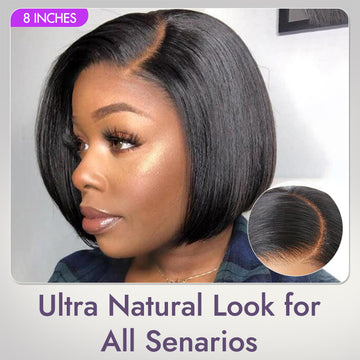
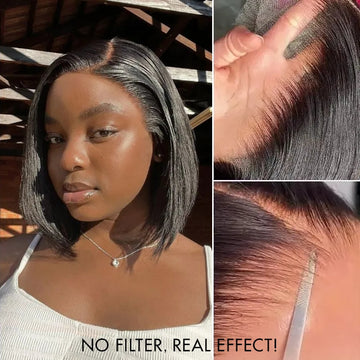
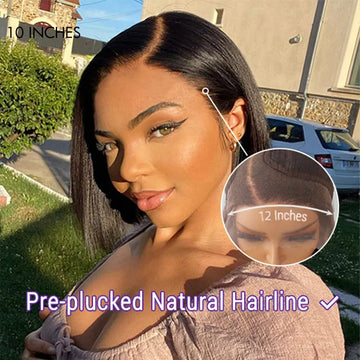
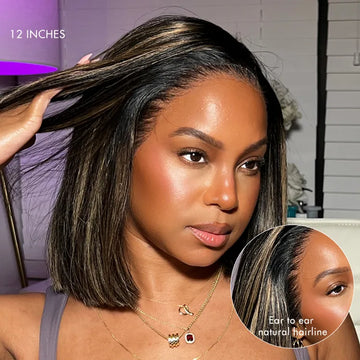
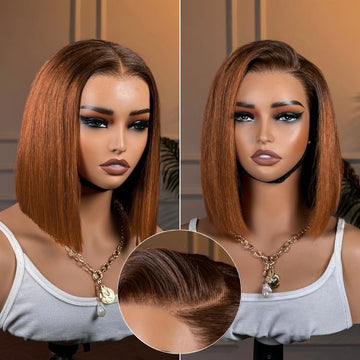
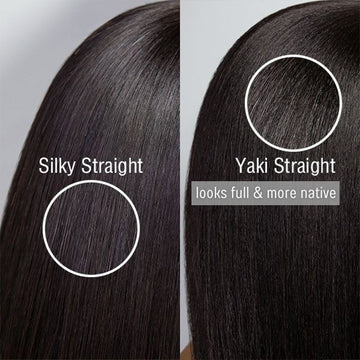
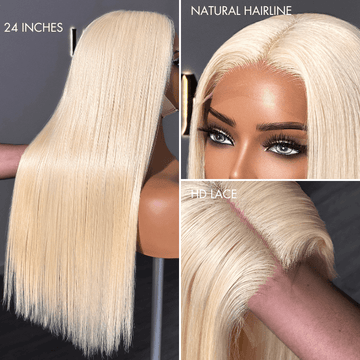
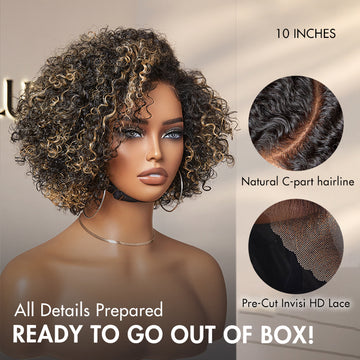
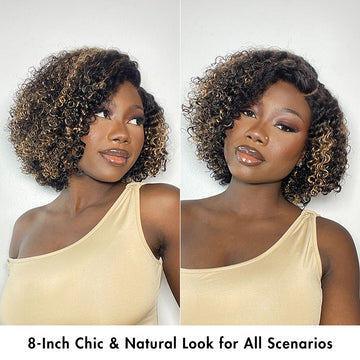
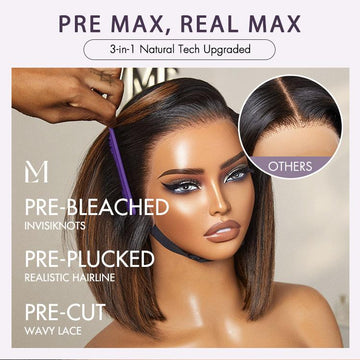
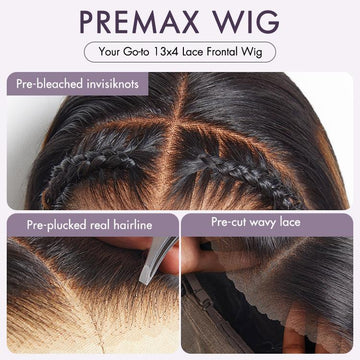
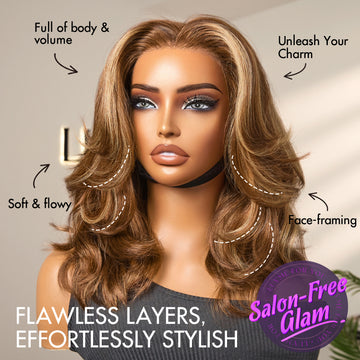
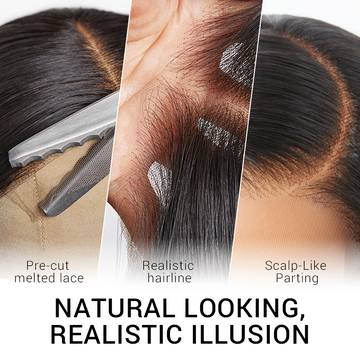
- Natural styling: Side-parted wigs are designed to mimic natural side-parted hairstyles for a realistic and stylish look.
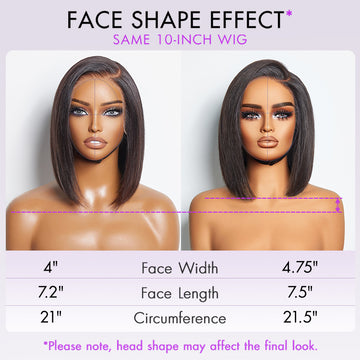
- Modify face shape: Side-parted wigs can modify different face shapes, modify face shape, and enhance facial features.
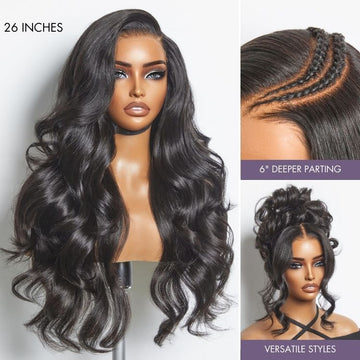
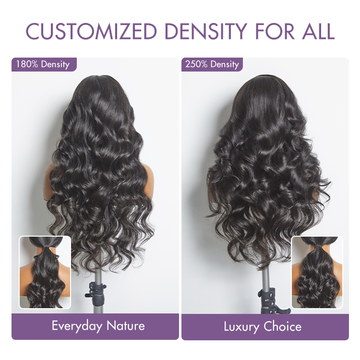
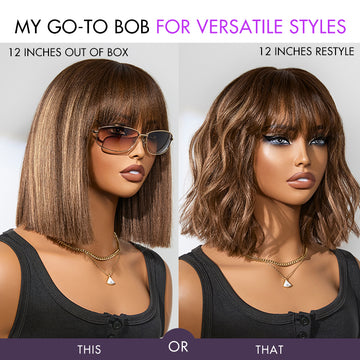
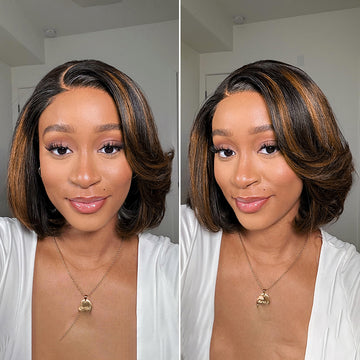
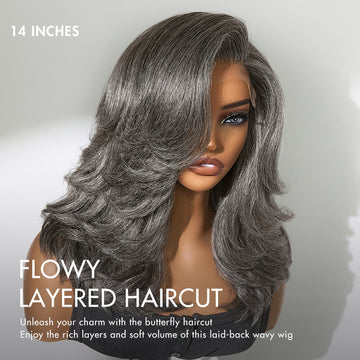
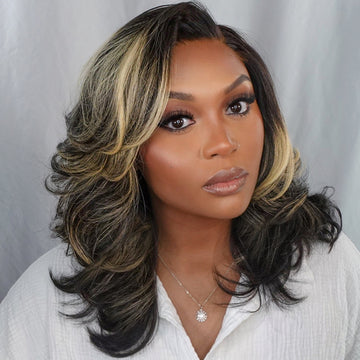
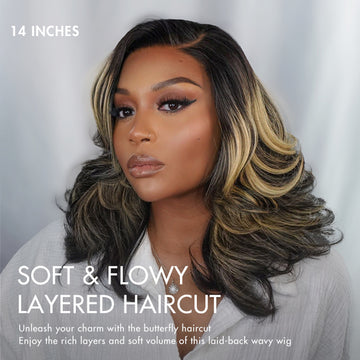
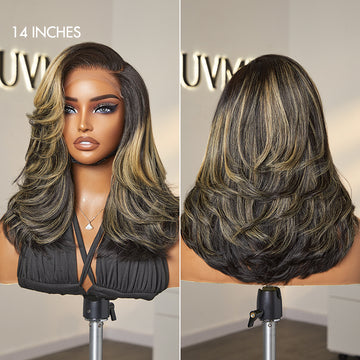
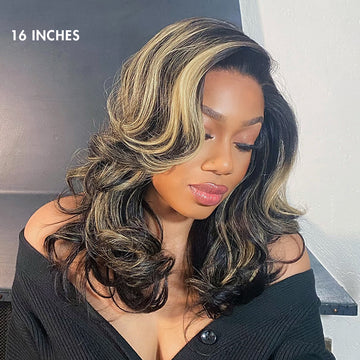
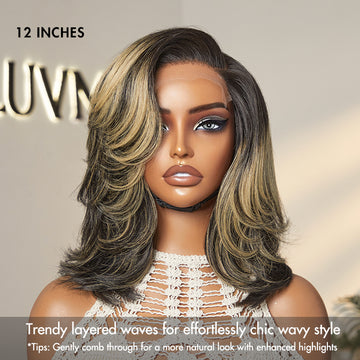
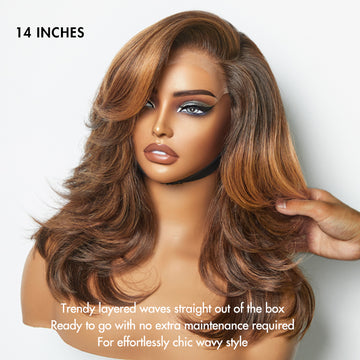
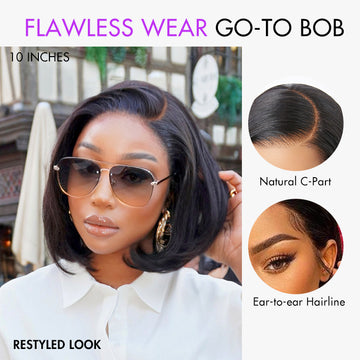
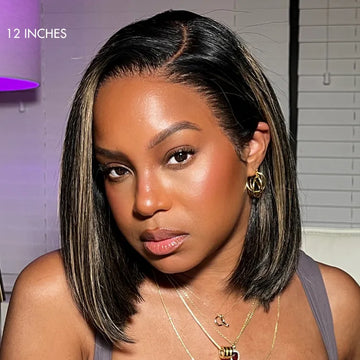
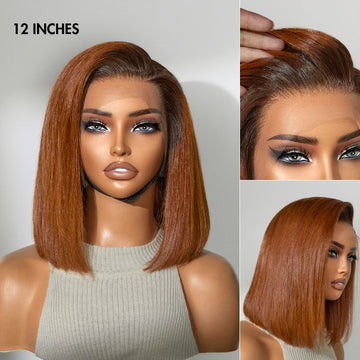
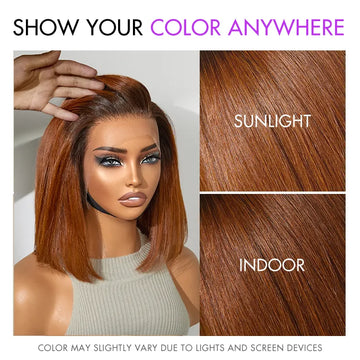
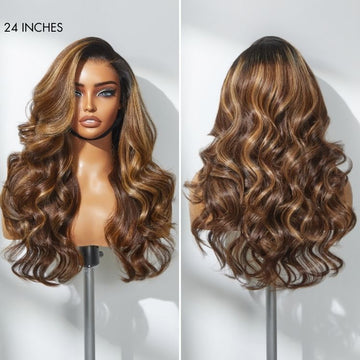
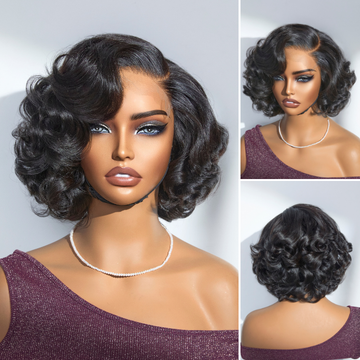
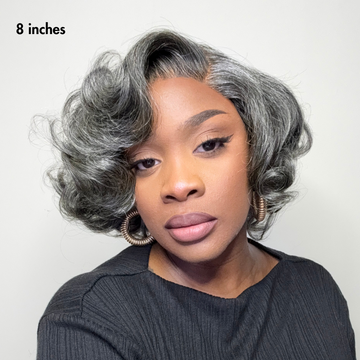
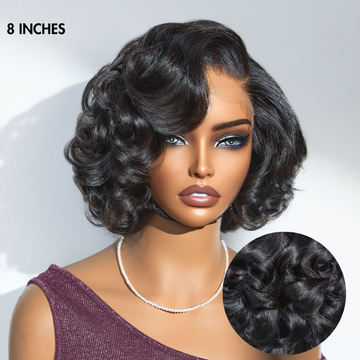
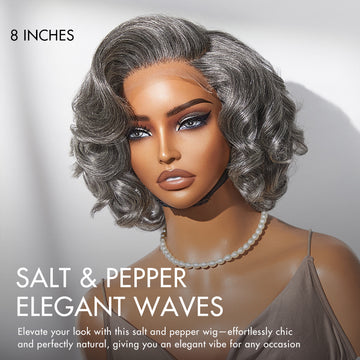
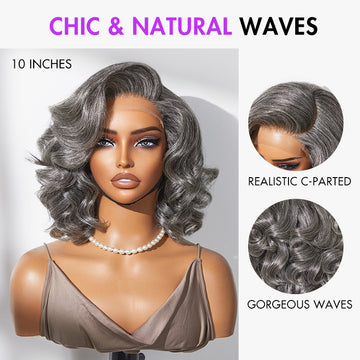
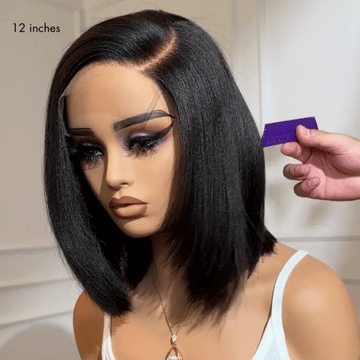
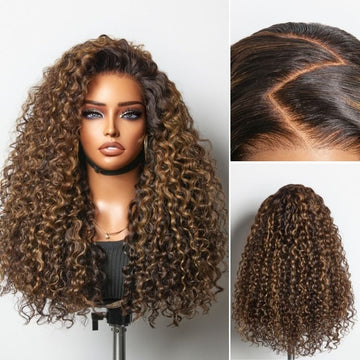
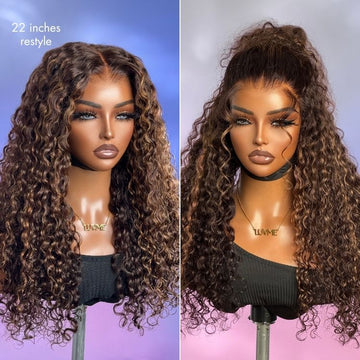
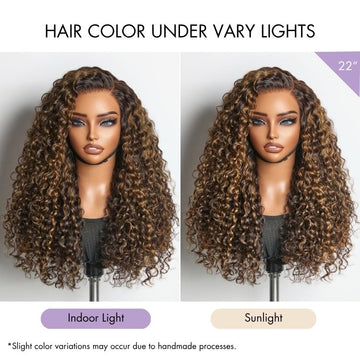
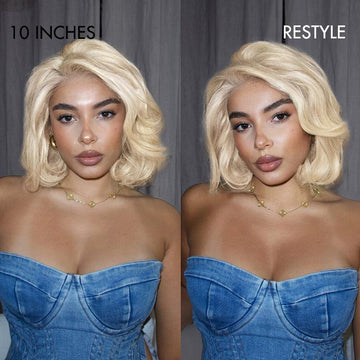
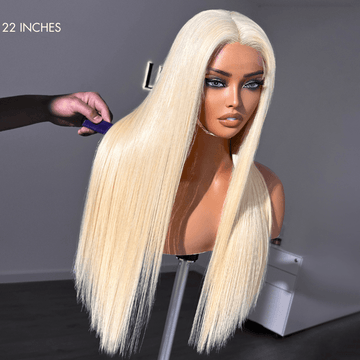
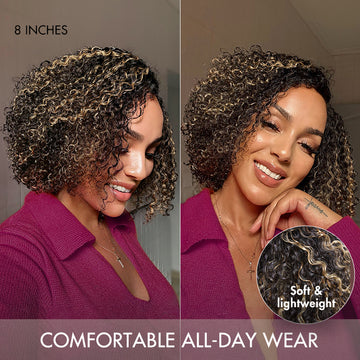
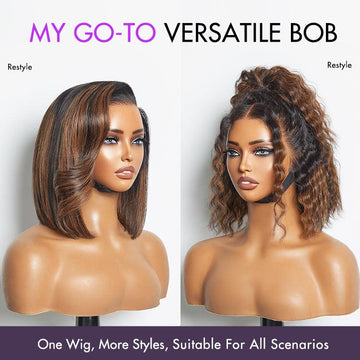
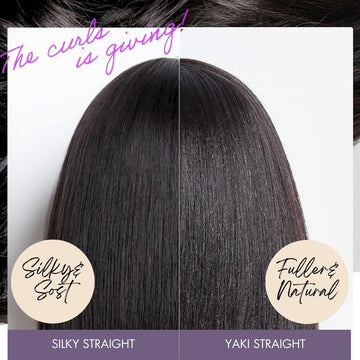
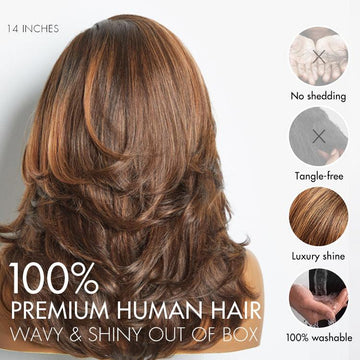
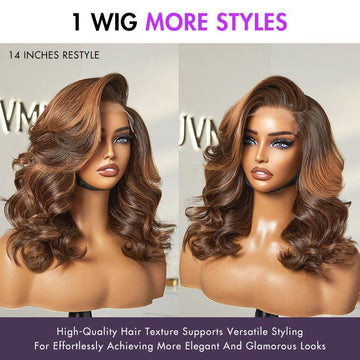
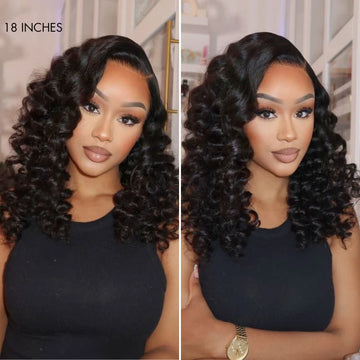
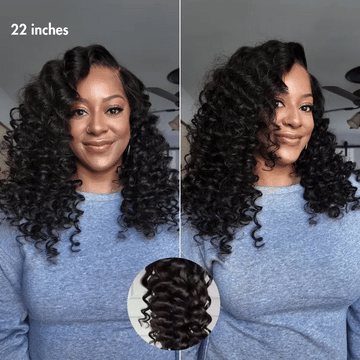
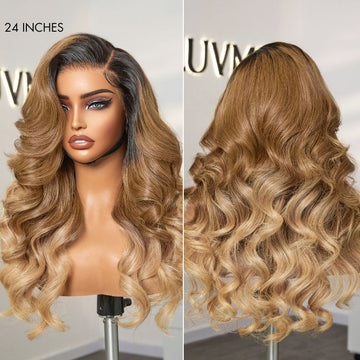
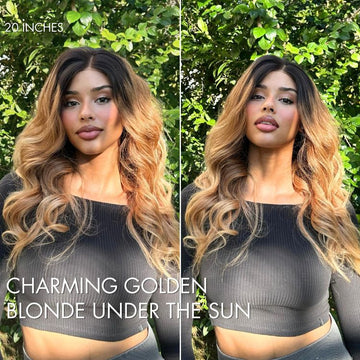
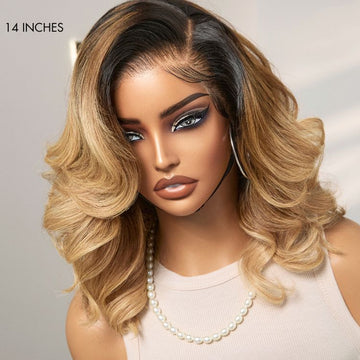
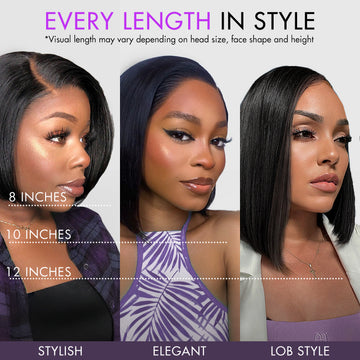
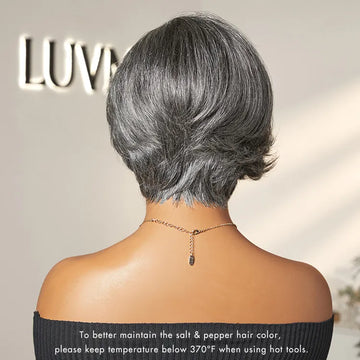
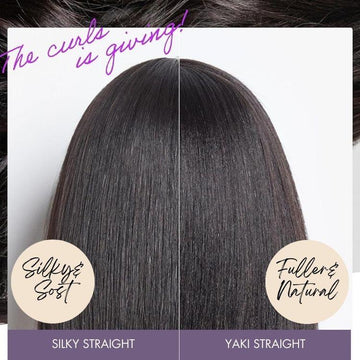
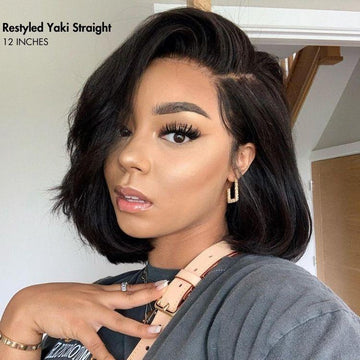
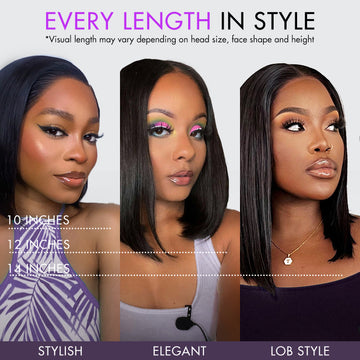
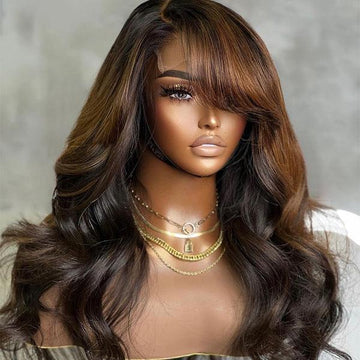
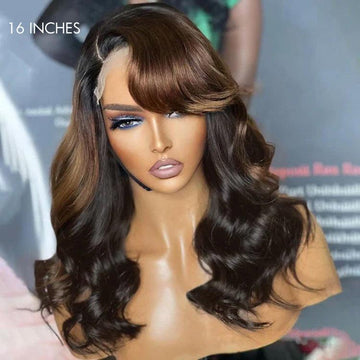
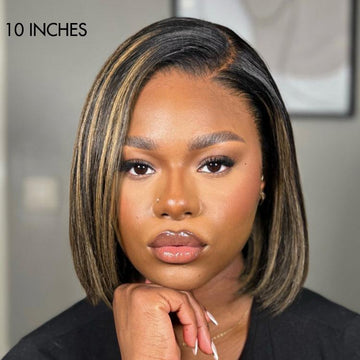
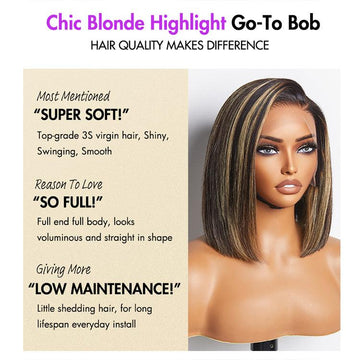
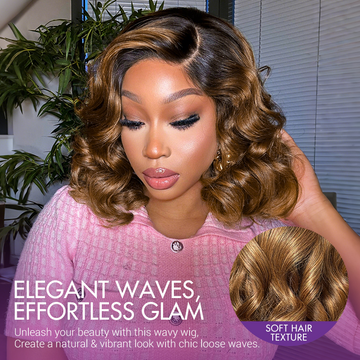
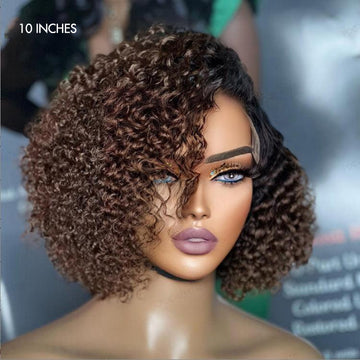
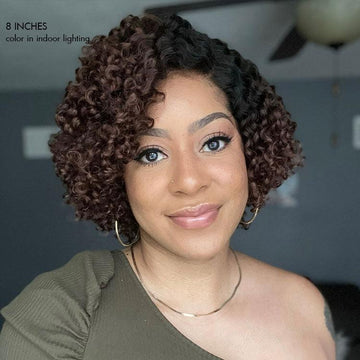
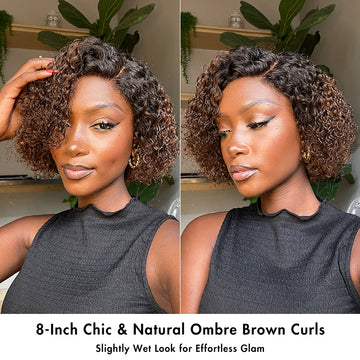
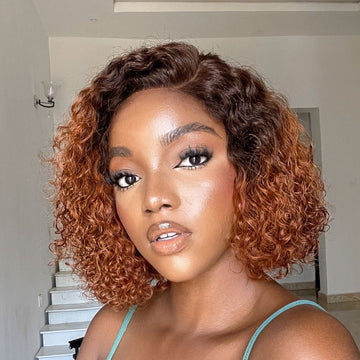
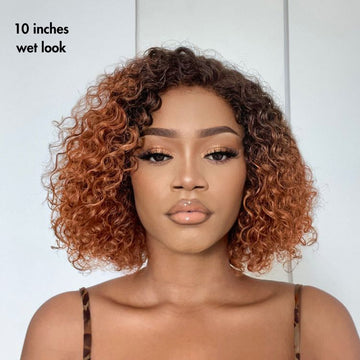
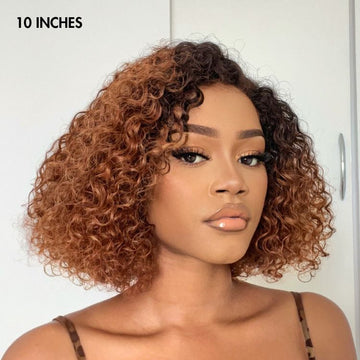
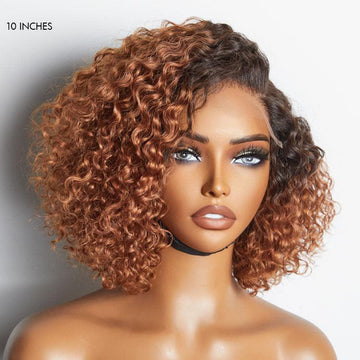
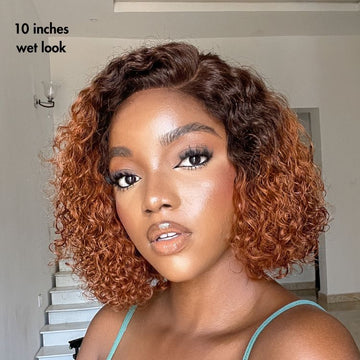
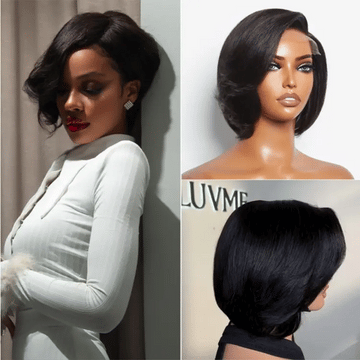
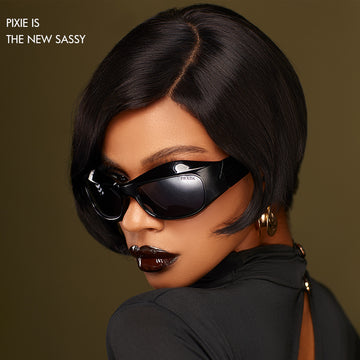
- Multiple lengths and textures: Side-parted wigs are available in a variety of lengths and textures to meet personal preferences.
- 24-hour online customer service: Try to answer all your questions before and after purchase.
- Unconditional return within 30 days: 100% customer first principle, and bear the corresponding return shipping costs.
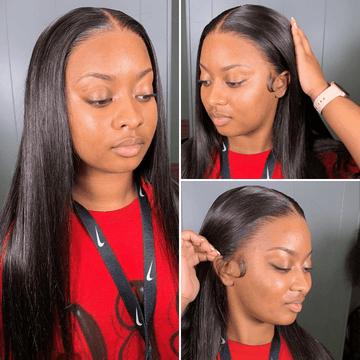
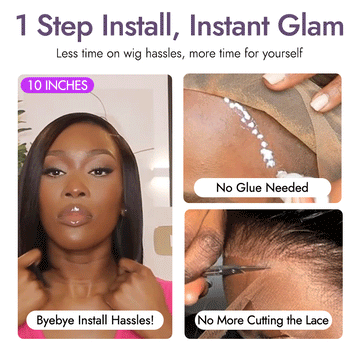
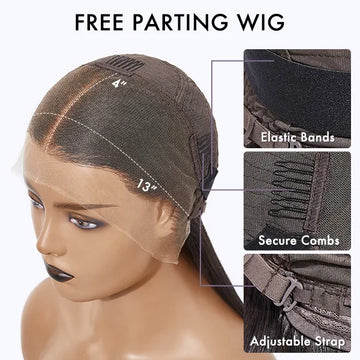
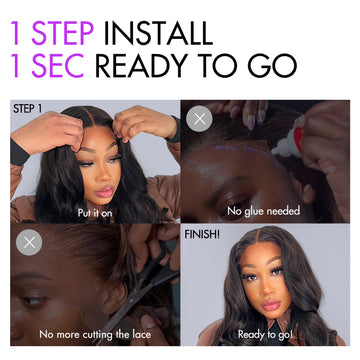
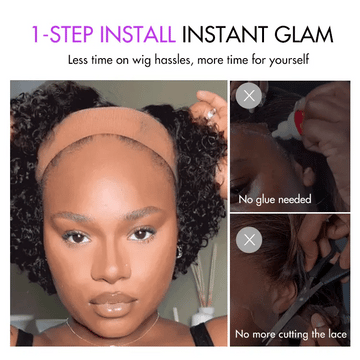
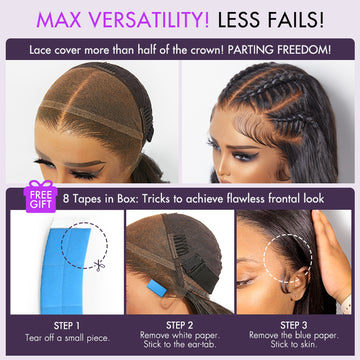
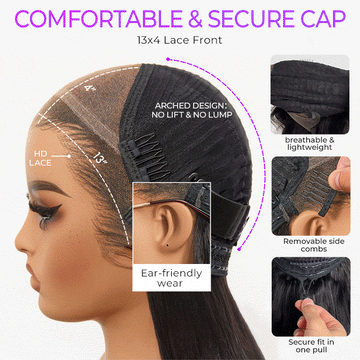
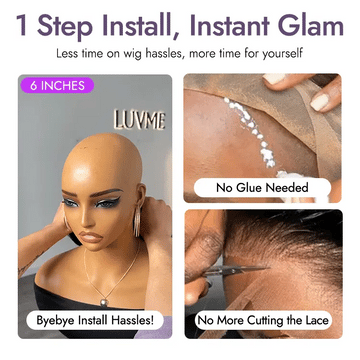
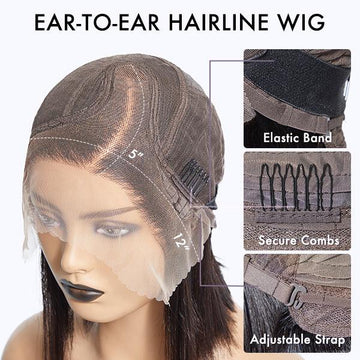
How To Install A Side Part Wig
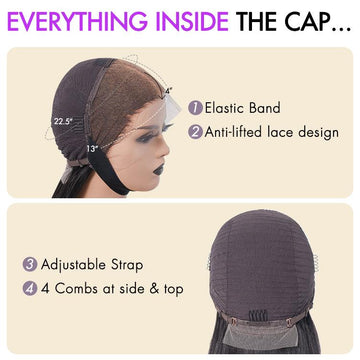
To install any Luvme side part wig, follow the installation tutorial we provide below:
- Step 1: Comb your natural hair and use the wig net cap to fix your hair, and clean the grease and makeup on your forehead.
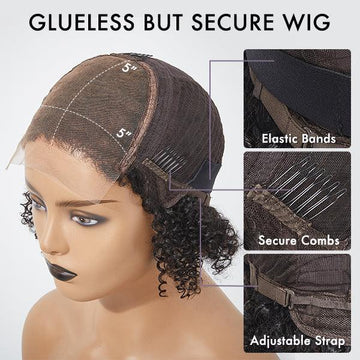
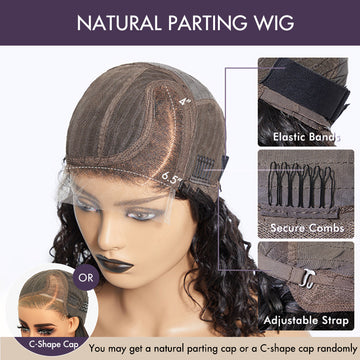
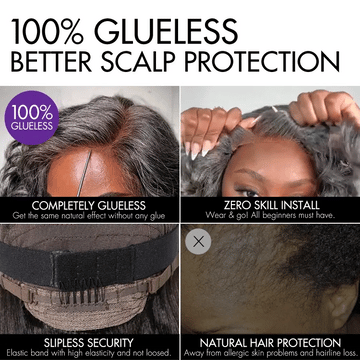
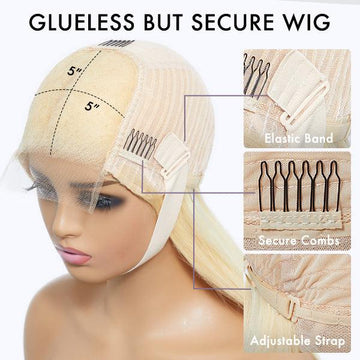
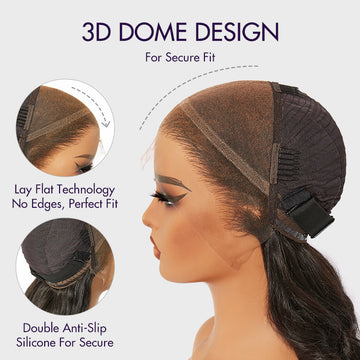
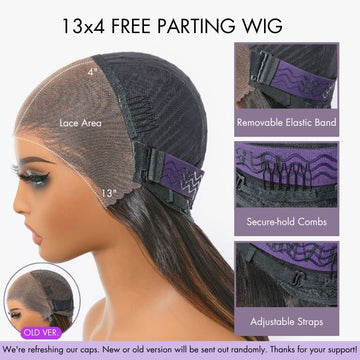
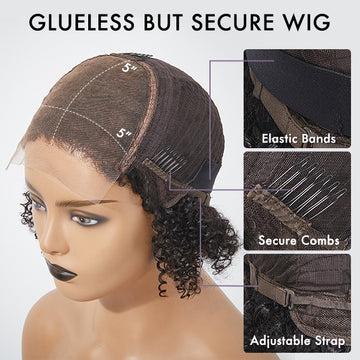
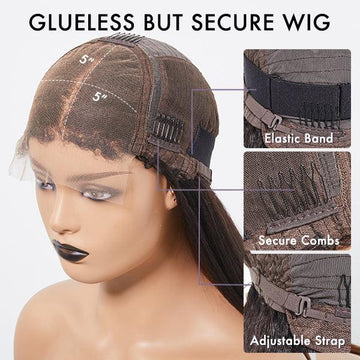
- Step 2: Put the wig on your head and adjust the position, making sure the ear pieces are aligned with the ears. If your wig is a glue-free wig, you can use the elastic band inside the wig to fix it on your head. If it is a lace front or closed wig, you need to apply wig glue or adhesive to enhance the fixing effect.
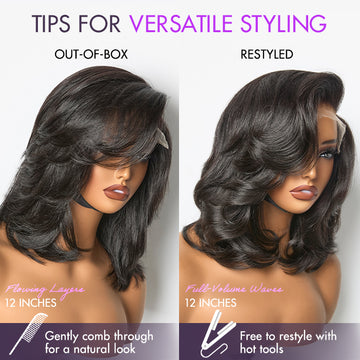
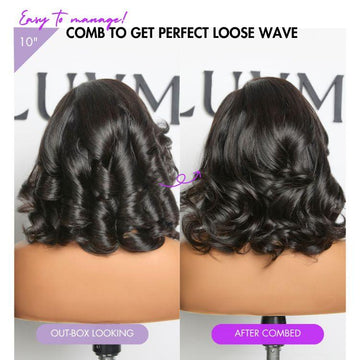
- Step 3: Adjust the wig part to the position you want, and then use a curling iron or a straightener to create the style you want.
Updated on July 02, 2025

People Also Ask about Side Part Wig
How to make a middle part wig a side part
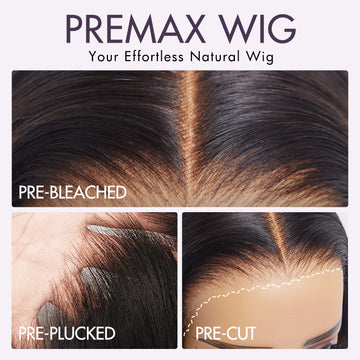
Transforming a middle-part wig into a wig side part is a great way to switch up your style. Start by placing your wig on a mannequin head and securing it with pins. If your wig is made of human hair, use a flat iron or hot comb to train the hair into a new direction. Next, use a rattail comb to create a deep side part wig by shifting the parting a few inches to either side. If your wig has a lace front, apply a light mist of water and mousse to help set the new part. Blow-dry on low heat while brushing to reinforce the change. For wigs with a defined middle part, tweezing a few strands along the new part can create a more natural effect. Finish with a bit of concealer on the lace to blend seamlessly with your scalp. Whether you’re styling a side part bob wig or a side part curly wig, this technique works across different textures.
How to make a side part lace front wig
Creating a side part lace front wig starts with choosing the right lace wig that allows versatile parting. If your wig comes with a pre-defined middle part, you can customize it by plucking hairs along the desired wig side part to achieve a natural look. Secure your wig onto a mannequin head and use a hot comb to flatten the new part. Apply mousse and a blow-dryer to help mold the shape. For a deep side part wig, extend the part further towards your ear for a more dramatic effect. After setting the part, use a concealer or foundation that matches your skin tone to define the parting line. If you're going for a sleek or voluminous look, styling options like a side part body wave wig or a side part deep wave wig can enhance the overall appearance.
How to make a side part wig with closure
To create a side part wig with a closure, begin by placing the closure piece onto a wig cap and positioning it according to the desired wig side part. Secure it using a sewing method or adhesive for a strong hold. Once the closure is in place, pluck a few hairs along the parting to create a more natural look. For a flawless blend, apply a hot comb to flatten the closure and train the hair into a deep side part wig. Use mousse or styling foam to mold the hair and a blow-dryer to set it. Whether you prefer a side part water wave wig for a beachy effect or a side part body wave wig for soft, flowing curls, this method ensures a seamless style. Finish with a bit of concealer or lace tint along the part for an undetectable finish.
How to make a side part wig without closure
Creating a side part wig without a closure requires careful parting and styling techniques. If you're using a full wig, adjust the position on your head to shift the part naturally. For added security, use wig clips or an adjustable strap. A hot comb or flat iron can help train the hair into a wig side part, ensuring a smooth transition. If you're working with a pre-styled middle-part wig, lightly pluck along the new parting area for a more realistic look. Apply mousse and use a blow-dryer to set the style in place. Whether you're styling a side part bang wig for a chic look or a side part deep wave wig for added volume, ensure the part blends naturally with your scalp by applying a matching foundation or lace tint along the part line.
How to pluck a side part wig
Plucking a side part wig enhances its natural look by creating a more realistic hairline and part. Begin by placing the wig on a mannequin head and securing it with pins. Using a fine-tooth comb, define the side part v part wig by ensuring the parting is clean and well-aligned. With tweezers, gently pluck a few strands along the part, starting from the front and working your way back. Be cautious not to overpluck, as this can create bald spots. For a side part frontal wig, pluck along the hairline to create a softer, more natural look. If you're styling a blonde side part wig, use a lace tint or foundation to match your scalp tone, making the part even more seamless. Finish by applying mousse and a hot comb to set the hair in place.
How to side part a wig
To create a flawless side part wig, start by positioning the wig on your head or a mannequin. Use a rattail comb to define a clean part on either the left or right side, depending on your preference. If you're working with a blonde wig side part, pluck a few strands along the parting to achieve a natural look. Next, apply a setting mousse and use a hot comb to flatten the hair for a sleek finish. For a bob wig with side part, tucking one side behind your ear can add a sophisticated touch. If you’re styling a curly wig with side part, scrunch the curls with a lightweight styling foam to maintain volume while keeping the part defined. To make the part even more realistic, dab a bit of concealer along the lace to blend it with your scalp.
How to style a side part wig
Styling a side part wig depends on the look you want to achieve. For a sleek and polished look, straighten the hair with a flat iron, focusing on defining the side part wig with curls for added elegance. If you prefer a voluminous style, use a curling wand to create soft waves, perfect for a side part blonde wig or a side part frontal wig. When working with right side part wigs, ensure the hair is trained in the correct direction by using a hot comb and mousse. For everyday versatility, a bob wig with side part can be styled with slight layers to frame the face beautifully. Set the look with a lightweight hairspray to hold the style in place.
How to install a side part closure wig
A successful side part wig install starts with preparing your natural hair. Braid your hair flat or wear a wig cap to create a smooth base. Position the side part closure wig on your head and align the part to match your natural hairline. Secure the wig using an adhesive or an elastic band for a snug fit. If you’re working with a blonde side part wig, use a lace tint or foundation to ensure a seamless blend with your scalp. Once secured, define the side part wig styles using a hot comb and styling mousse. If you’re installing a side part wig with curls, gently separate and shape the curls for a natural, voluminous finish. Finish by setting the lace with a light mist of hairspray or gel for long-lasting hold.


 Bonus Points


