



A wig that shifts during wear can affect comfort and confidence. Sewing wig combs onto the cap is a practical way to add targeted hold, especially when you want a secure fit without relying entirely on adhesive. The key is choosing reinforced cap areas, positioning each comb correctly, and stitching firmly without pulling the material out of shape.
Quick answer: To sew wig combs onto a wig, turn the wig inside out, place the comb on a reinforced section with the teeth pointing toward the natural hair, and sew through the attachment holes using strong thread. Avoid delicate lace, reinforce both ends, knot the thread securely, and test the wig for pressure before extended wear.
What Are Wig Combs and When Should You Use Them?
Wig combs are small curved accessories attached inside a wig cap. Their teeth slide into natural hair or a braided base to reduce forward, backward, or side-to-side movement. They may be factory-installed or added later when a wig needs support in a particular area. If you are new to wig interiors, this guide to the combs, bands, and straps inside a wig explains how each feature contributes to security.
A comb is most useful when the cap already fits reasonably well but needs extra anchoring at the sides or nape. It can support glueless daily wear, heavier human hair units, and custom wigs made from bundles. It should not be used to correct a cap that is much too large. Adjust the straps, elastic band, or cap size first.
Before sewing, inspect the inside of the wig and identify its wig cap construction. Strong mesh, wefted sections, and reinforced seams are safer attachment points than lace. Never sew directly through transparent lace or close to a delicate hairline, because repeated tension can stretch or tear the material.
Wig combs are not ideal for everyone. If the hairline is fragile, the natural hair is very short, or the scalp is sensitive to localized pressure, a wig grip or fitted elastic band may feel more comfortable. A comb should grip the hair without scraping the scalp or pulling the edges.
Tools You Need
- Wig combs with sewing holes
- A curved or straight needle
- Strong polyester or nylon thread
- Small scissors
- Clips or pins
- A mannequin head or stable wig stand
How to Sew Wig Combs onto a Wig
Finish major cap alterations or added wefts before installing the combs. This keeps the sewing area visible and prevents tracks from covering the attachment points. Watch the video for the full motion, then follow the written steps for placement and tension checks. For a broader fitting routine, see the beginner glueless wig installation guide.
1 Step 1: Turn the Wig Inside Out and Secure It
Place the wig on a mannequin head and turn the cap inside out without stretching the lace. Pin or clip the cap so it does not rotate. Smooth away loose strands, since catching hair in the stitches can create tangles and make repairs difficult.
2 Step 2: Choose the Comb Placement
Common positions include the side panels near the temples and the reinforced area at the nape. Place the comb where it can reach natural hair or a braid without resting on bare skin. Leave enough distance from the lace edge to prevent tension from transferring to the hairline. Hold it in place and check the position before sewing.
3 Step 3: Position the Teeth Correctly
Lay the comb flat against the cap with its curved base following the shape of the head. The teeth should point toward the hair they will grip. At the nape, they normally point upward. At the sides, they usually angle backward or slightly downward, depending on the cap.
4 Step 4: Thread the Needle and Anchor the First Stitch
Cut a manageable length of thread, double it for strength, and tie a secure knot. Begin at one end of the comb and pass the needle through reinforced cap material and the first sewing hole. Keep fingers under the cap so the needle does not catch outer hair or lace.
5 Step 5: Sew Through Each Attachment Hole
Make several small, even stitches through each hole, moving from one end to the other. Keep the thread firm but not tight enough to wrinkle the cap. The comb should sit flat and should not rock when lightly lifted. Reinforce both ends because they receive the most movement.
6 Step 6: Knot, Trim, and Test the Fit
Make two or three secure knots close to the cap and trim the excess thread. Turn the wig right side out and gently pull each comb to confirm it stays flat. Try the wig on for ten to fifteen minutes. Reposition a comb if it scratches, pinches, pulls the edges, or creates a pressure point.
Fit reminder: More combs do not always create a better fit. Two side combs and one at the nape may be enough. Too many can increase tension and make the cap rigid. Inspect the stitching after washing and repair loose thread before the comb begins pulling on the cap.
Wig Combs vs. Wig Grips, Elastic Bands, and Glue
| Method | Best For | Main Benefit | Watch For |
|---|---|---|---|
| Wig combs | Targeted support with natural hair or braids | Quick anchoring at the sides or nape | Localized tension near fragile edges |
| Wig grips | Glue-free wear without teeth | Friction spread around the head | Extra warmth or bulk under the cap |
| Elastic bands | Improving the overall cap fit | More even support across the head | Discomfort when adjusted too tightly |
| Glue | Stronger or longer hairline hold | A flatter lace finish | Longer application and careful removal |
No single method is automatically best. Many wearers combine an elastic band for overall fit with one nape comb for extra support. Choose the least complicated option that keeps the wig stable without pulling the hairline or irritating the scalp.
Luvme Human Hair Bundles for Custom Wig Making
Human hair bundles can be sewn onto a dome or mesh cap to build a custom wig, add density, or replace worn wefts. Finish attaching the bundles before deciding where the combs should go. This keeps comb stitches away from the tracks and leaves reinforced areas accessible.
Swipe or scroll horizontally to compare five textures for custom wig making.
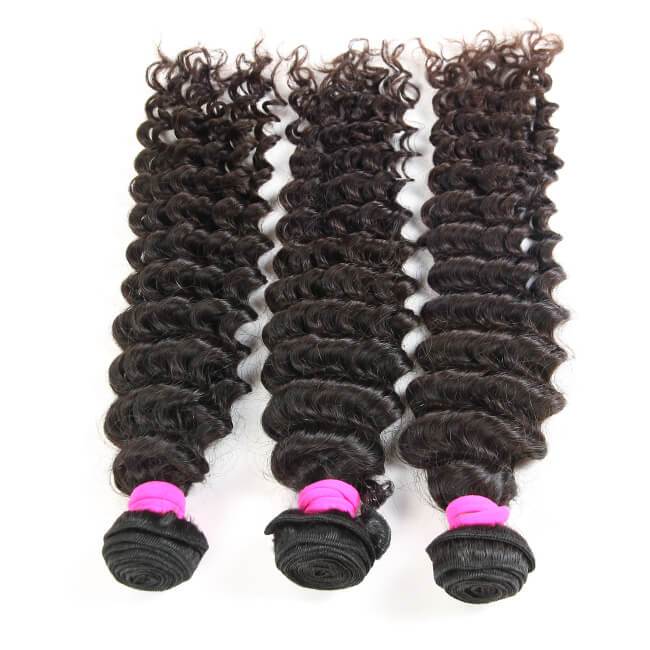
Deep Wave Virgin Human Hair Bundles
Defined curls for fuller custom wigs and textured sew-ins.
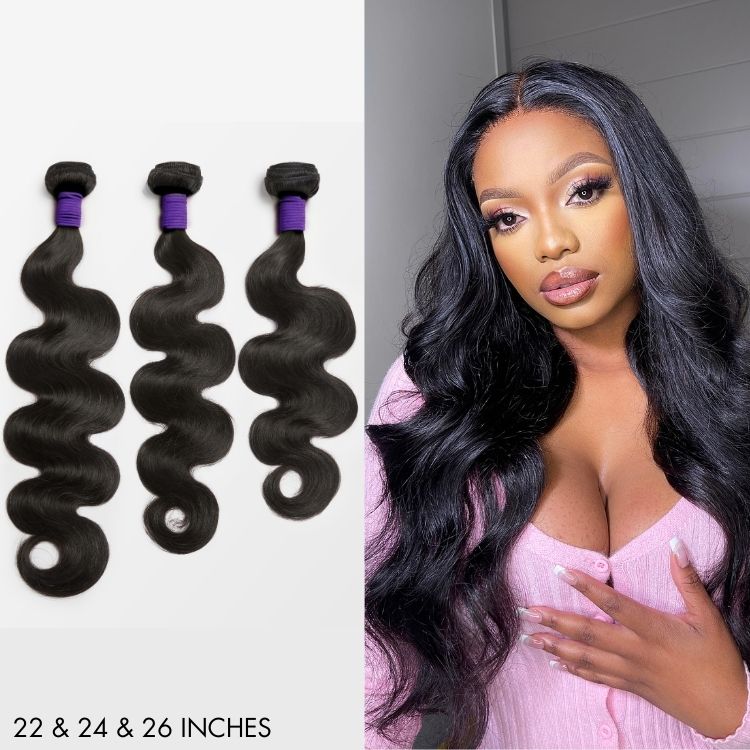
Body Wave Brazilian Human Hair Bundles
Soft movement and flexible volume for polished everyday units.
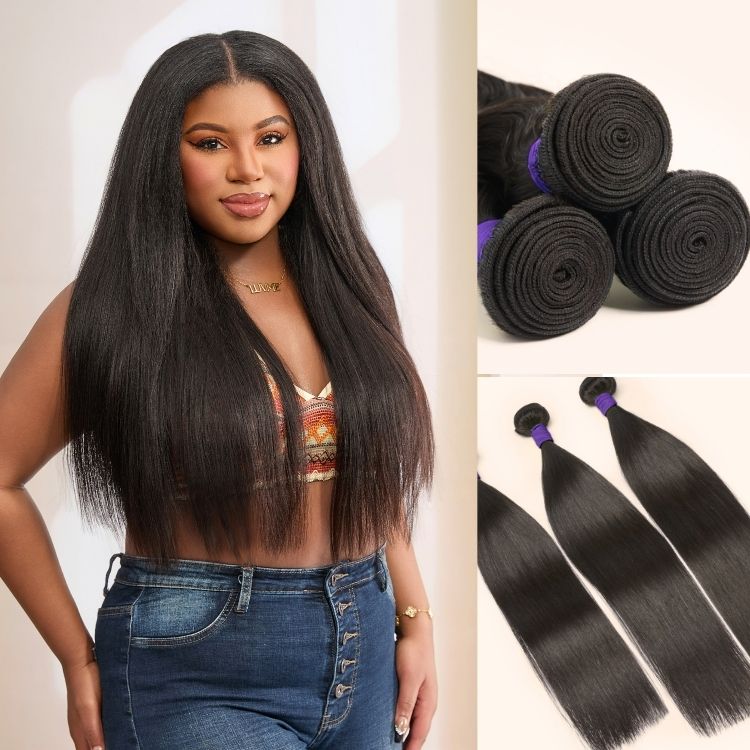
Too Easy Texture Yaki Straight Bundles
A textured straight finish inspired by a natural blowout.
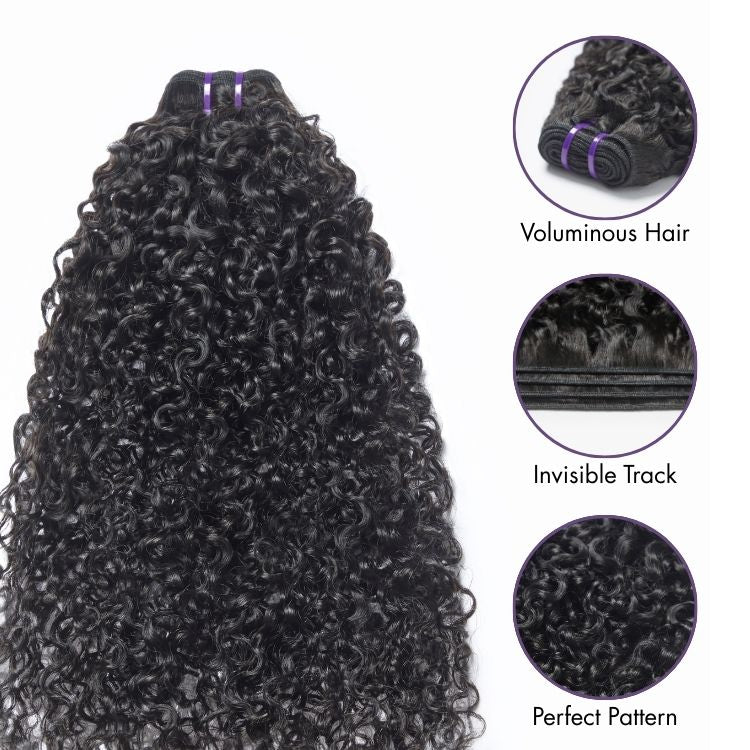
Messy Burmese Curly Remy Human Hair Bundles
Dimensional curls for rounded volume and bold custom styles.
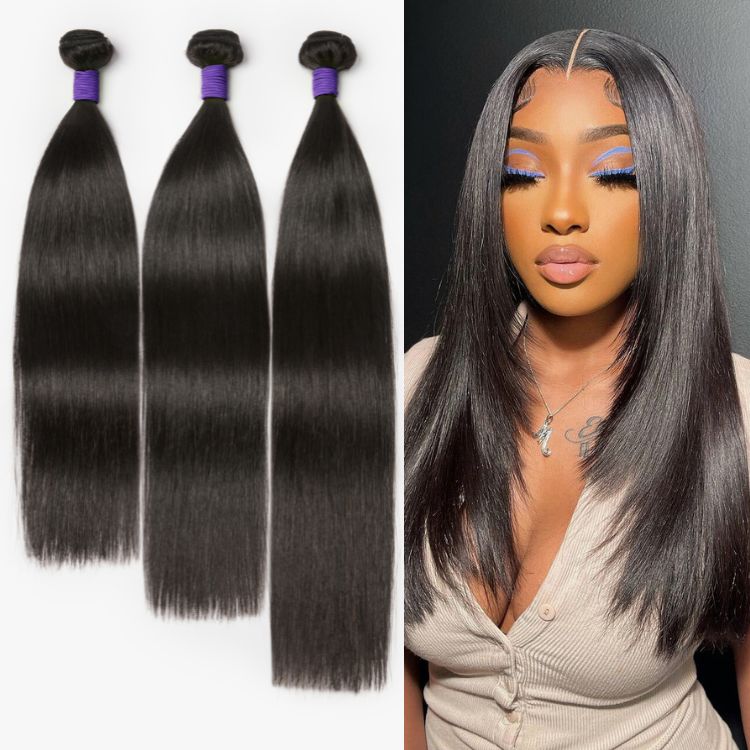
Straight Brazilian Human Hair Bundles
A sleek option for smooth custom wigs and versatile restyling.
Conclusion
Sewing wig combs onto a wig is a small alteration that can make the fit more secure. Successful installation depends on attaching the comb only to strong cap material, keeping the stitches firm without distorting the cap, and testing the placement before long wear. Protect delicate lace, avoid unnecessary tension, and choose a grip, band, or adhesive when combs do not suit the natural hair or scalp.


 + 1
+ 1
 + 1
+ 1
 + 44
+ 44